Project Scope
I created this character by following a FlippedNormals tutorial, using it as a foundation to explore the tools and workflow of ZBrush. Throughout the sculpting process, I added my own creative touches and developed the character in a different direction. I took this project further by bringing it to polish. Retopo, textures, and rendering.
- Maya, Zbrush, Substance Painter, After Effects.
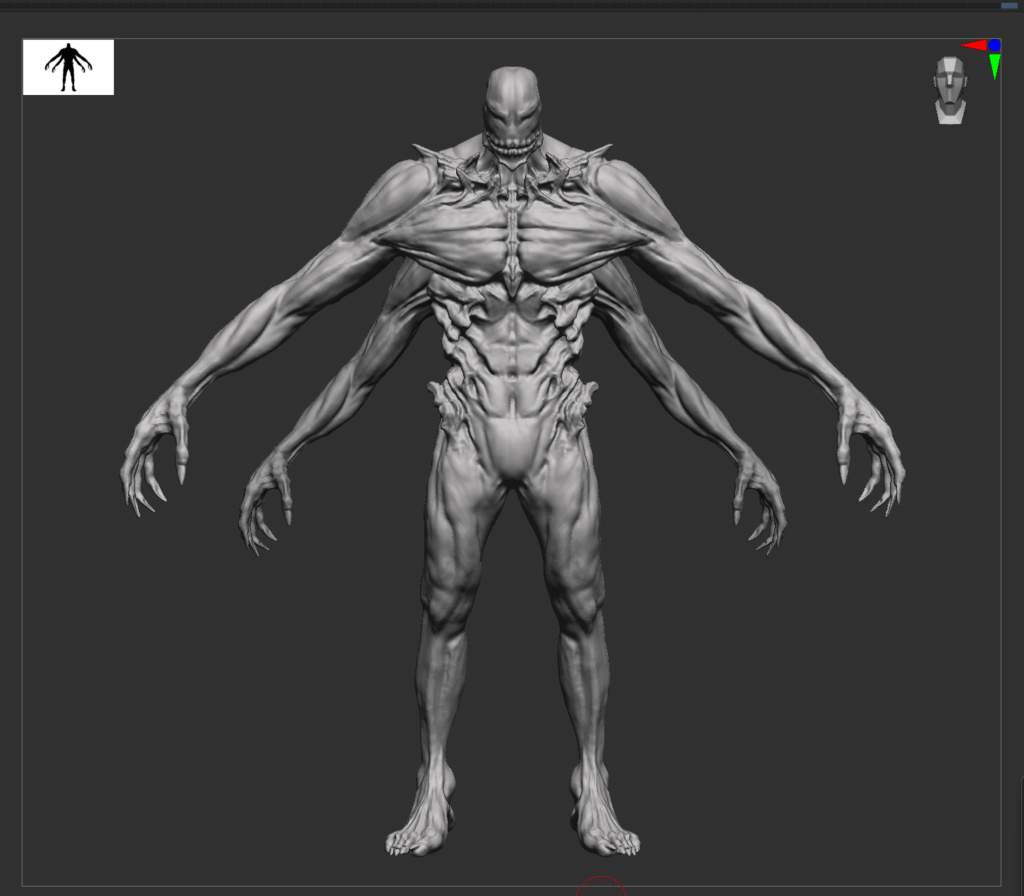

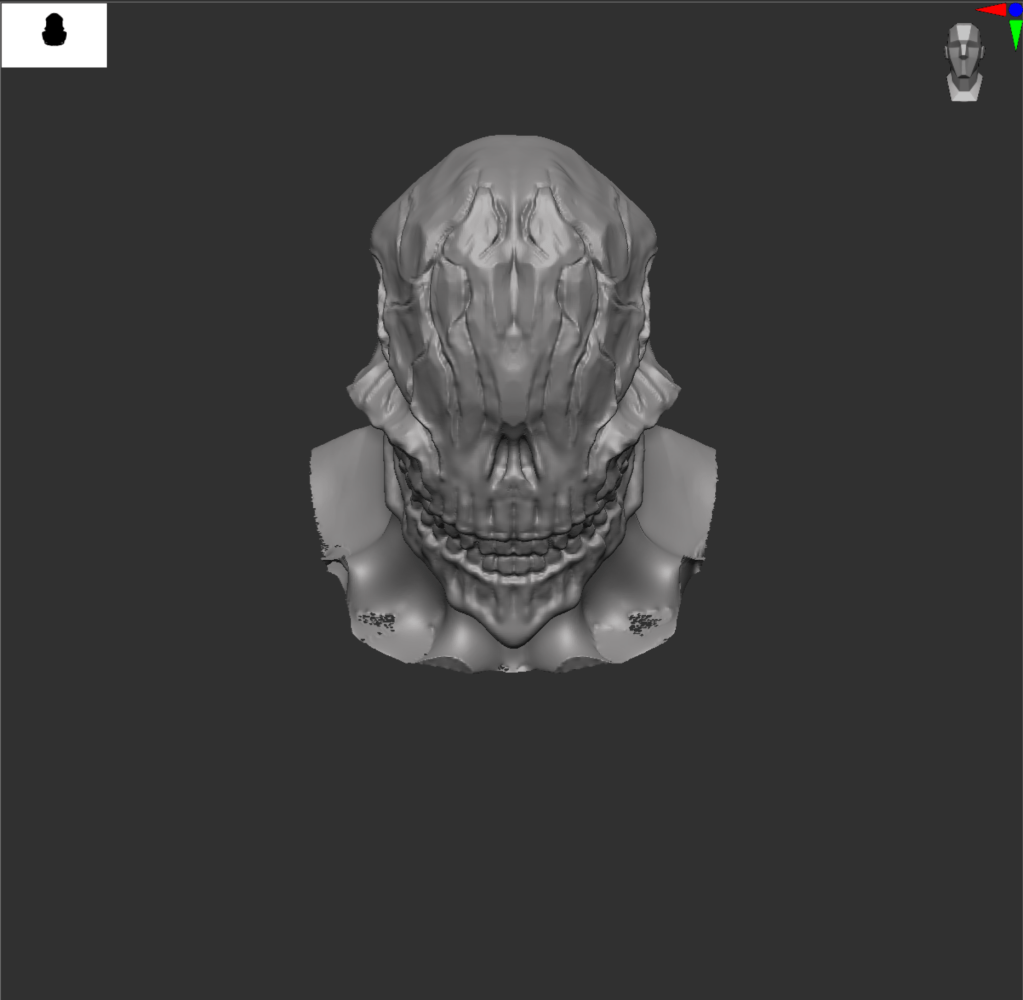

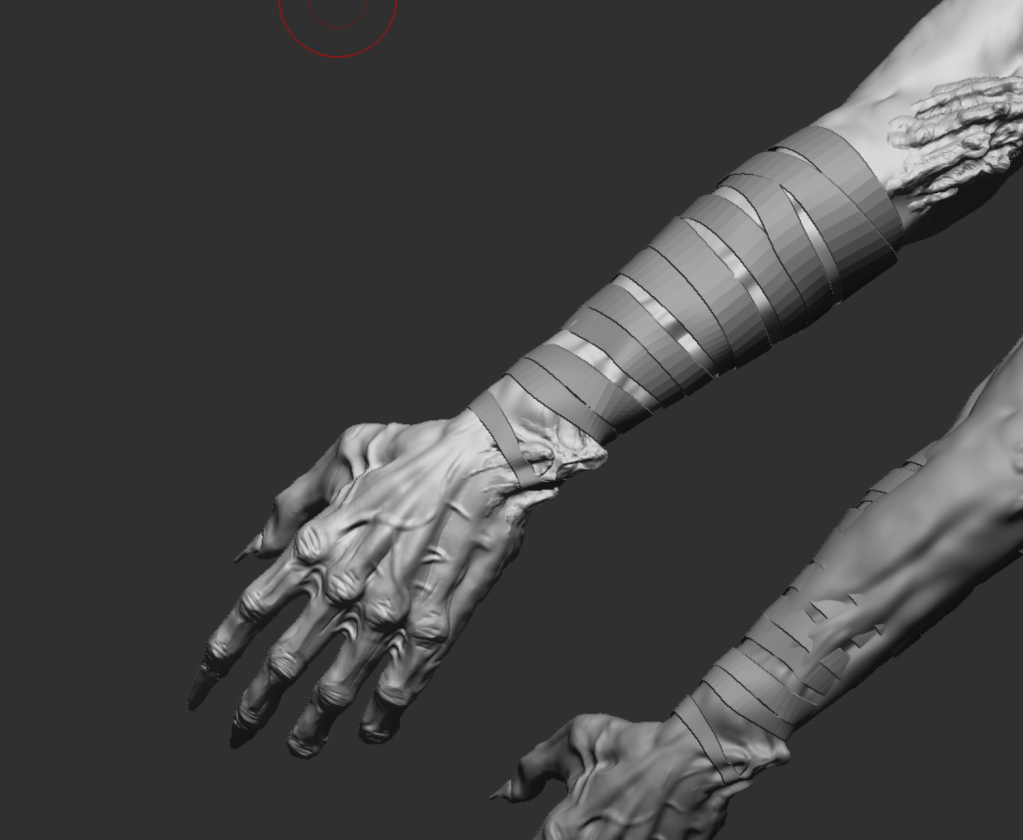
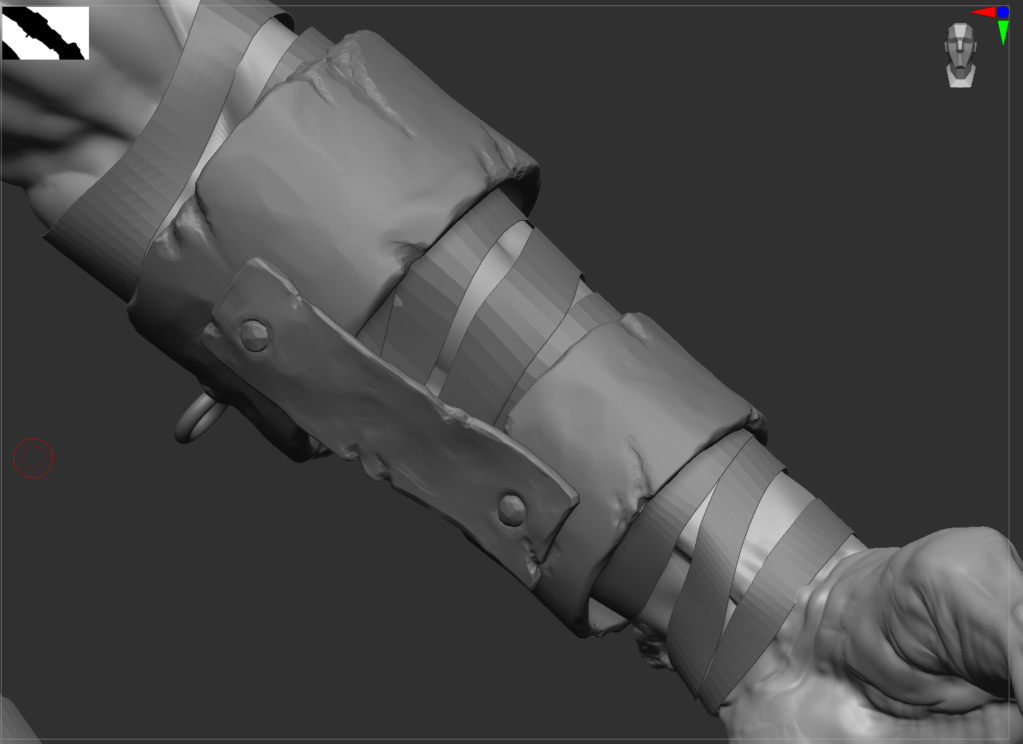
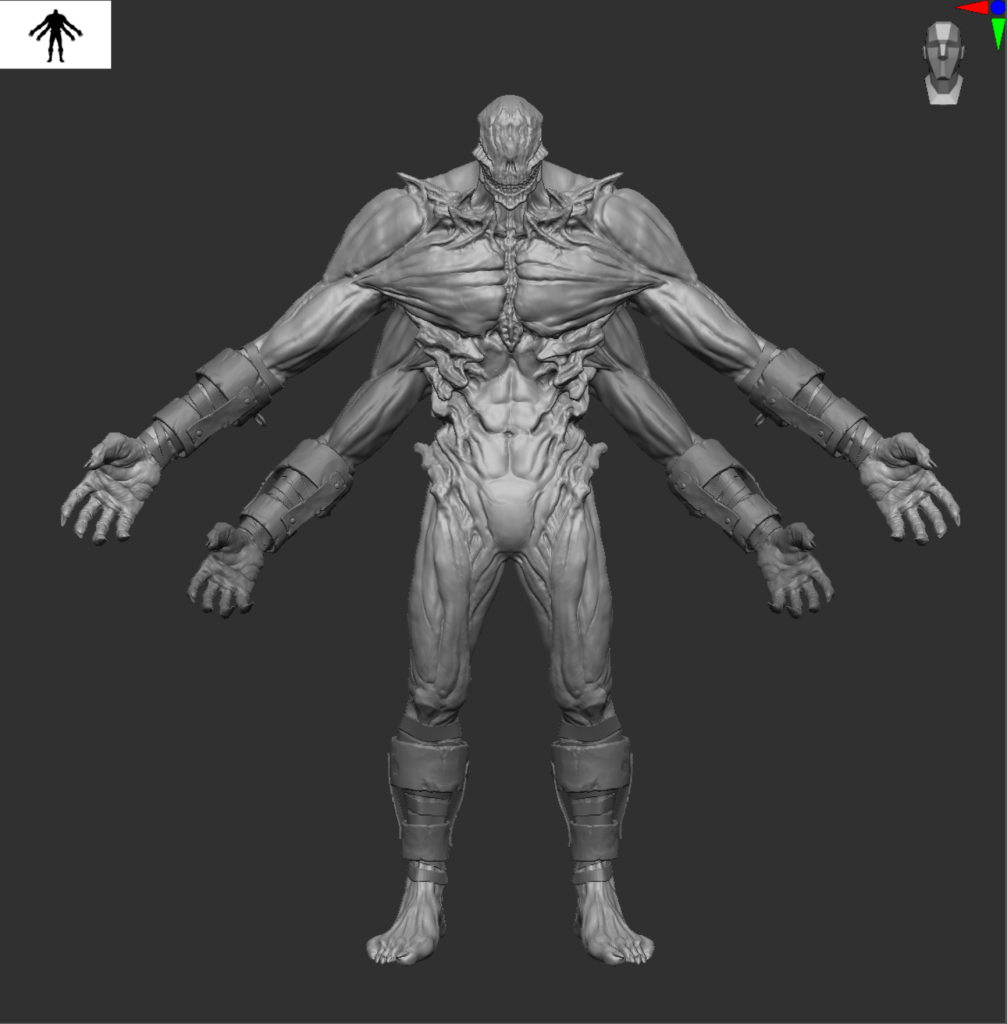
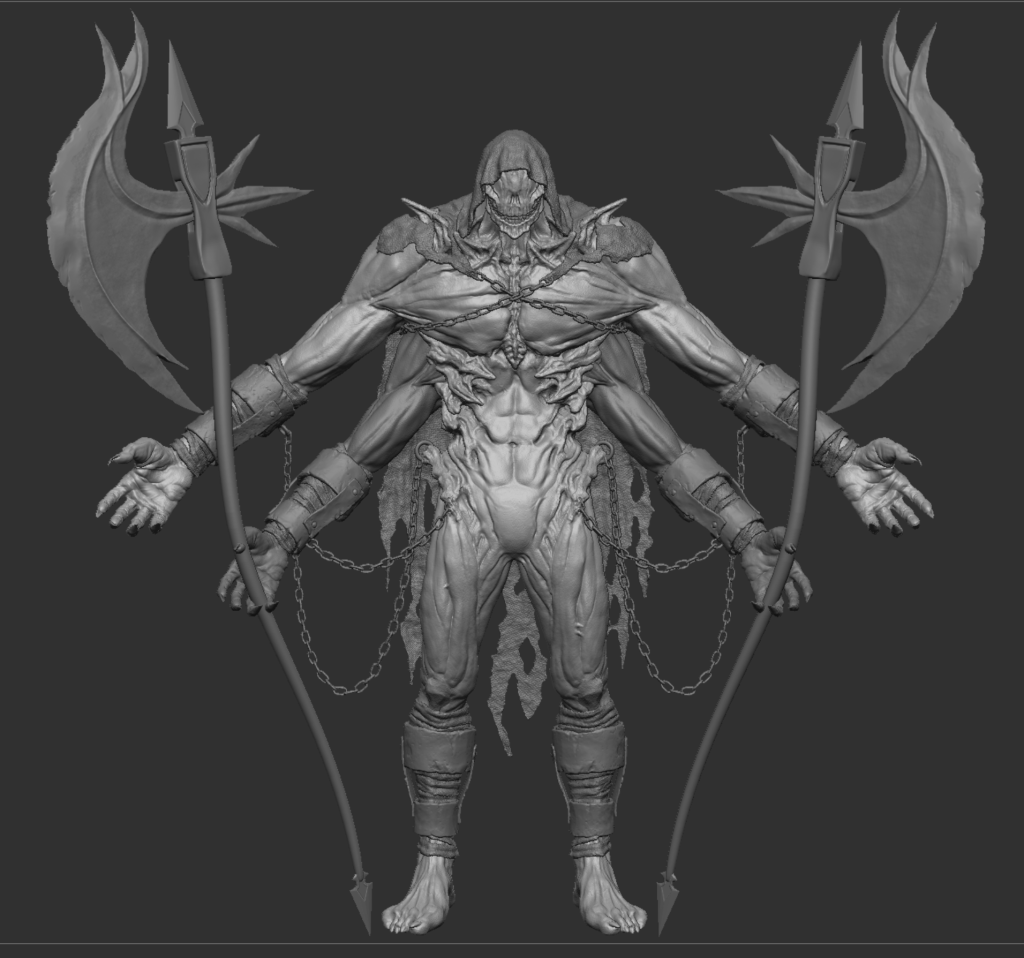
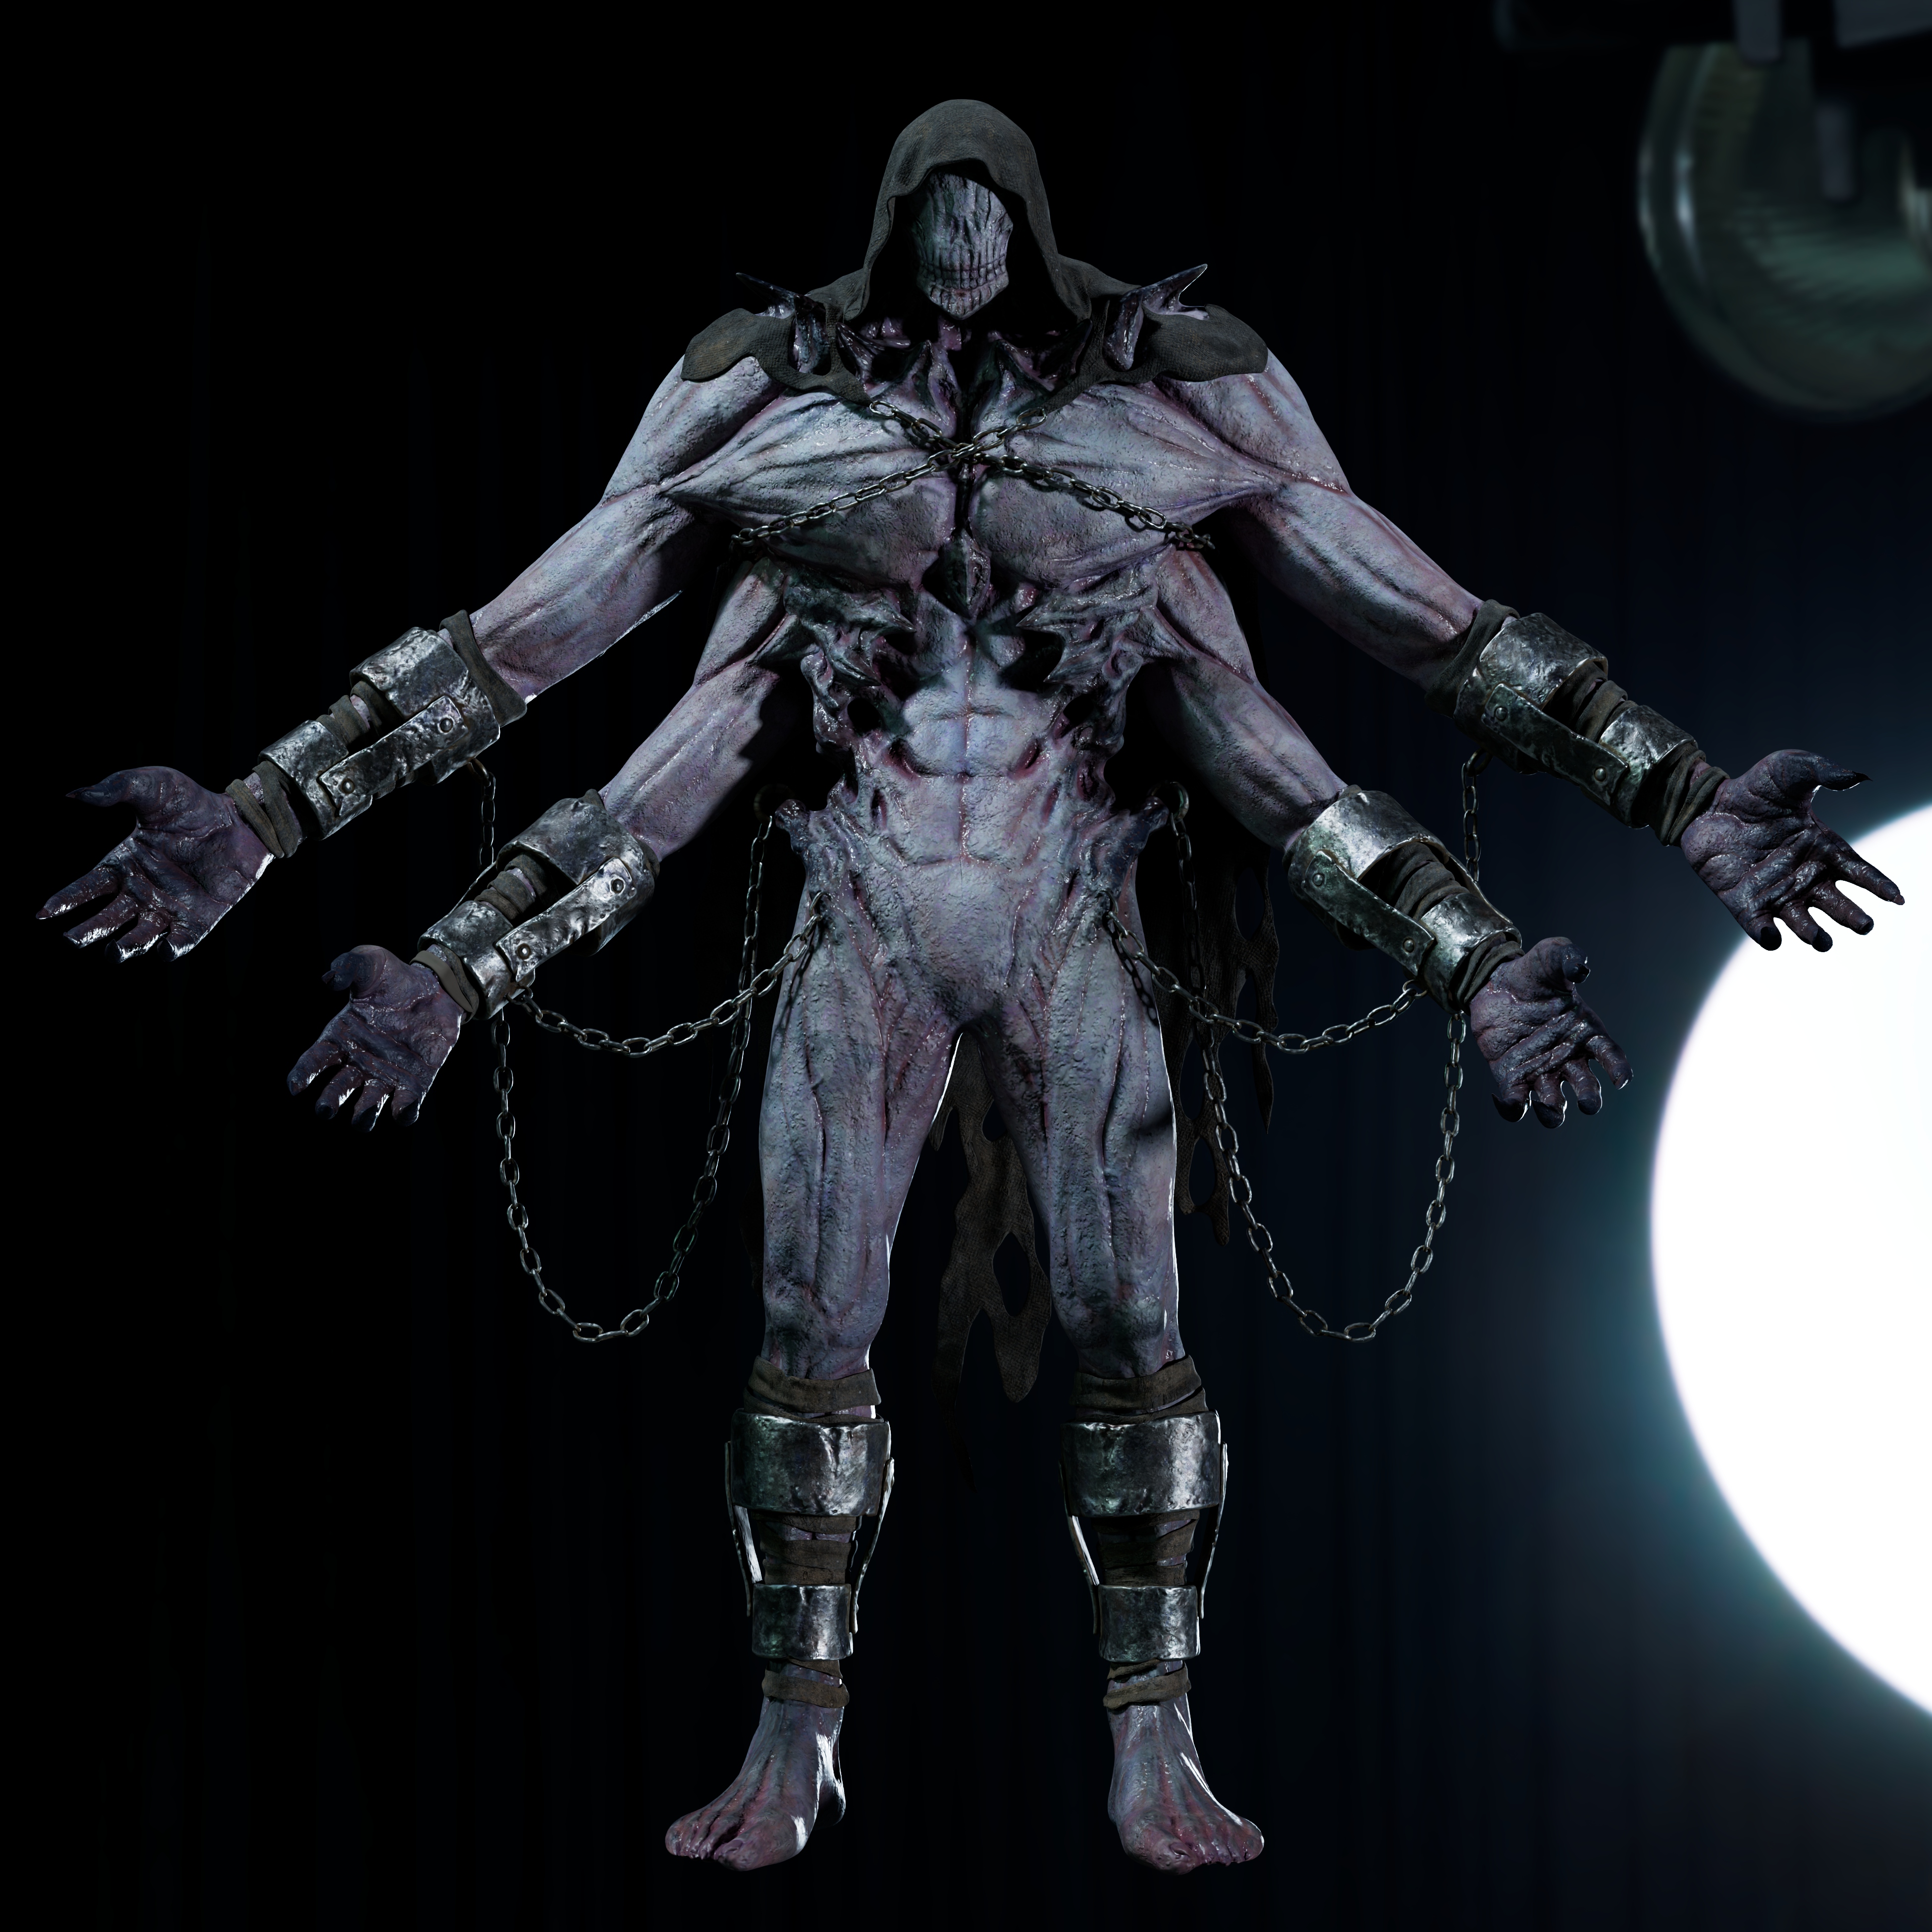
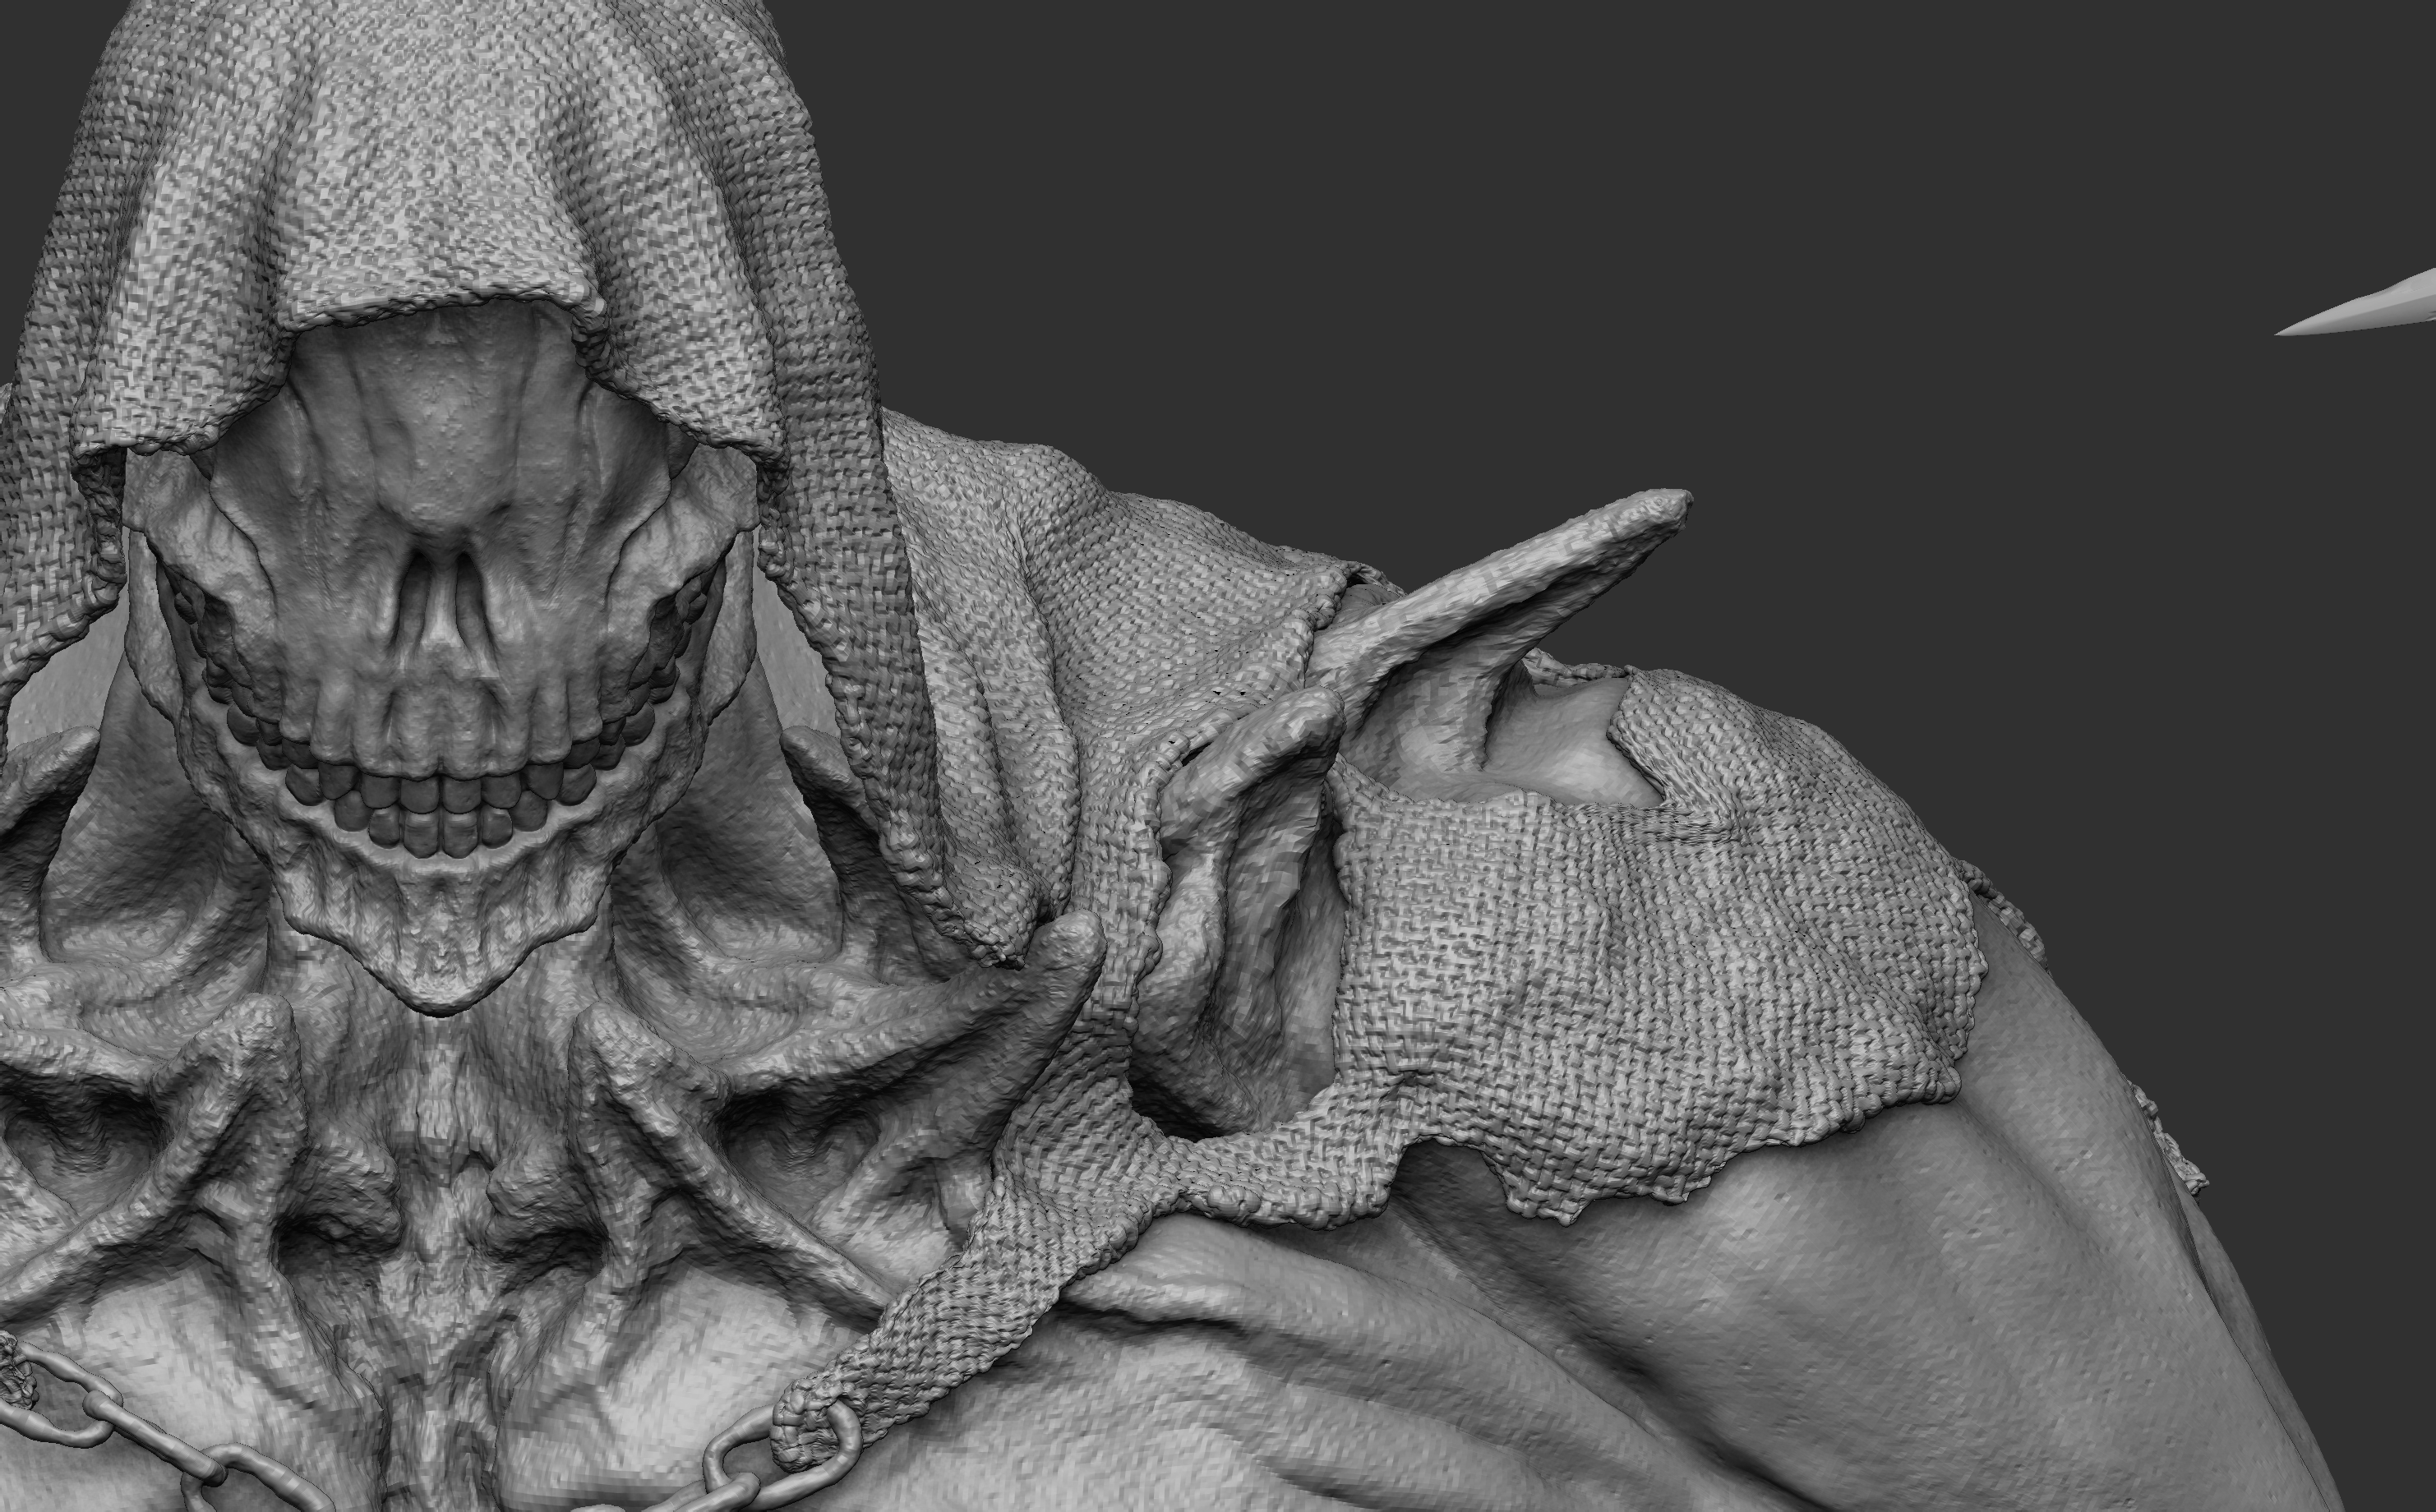
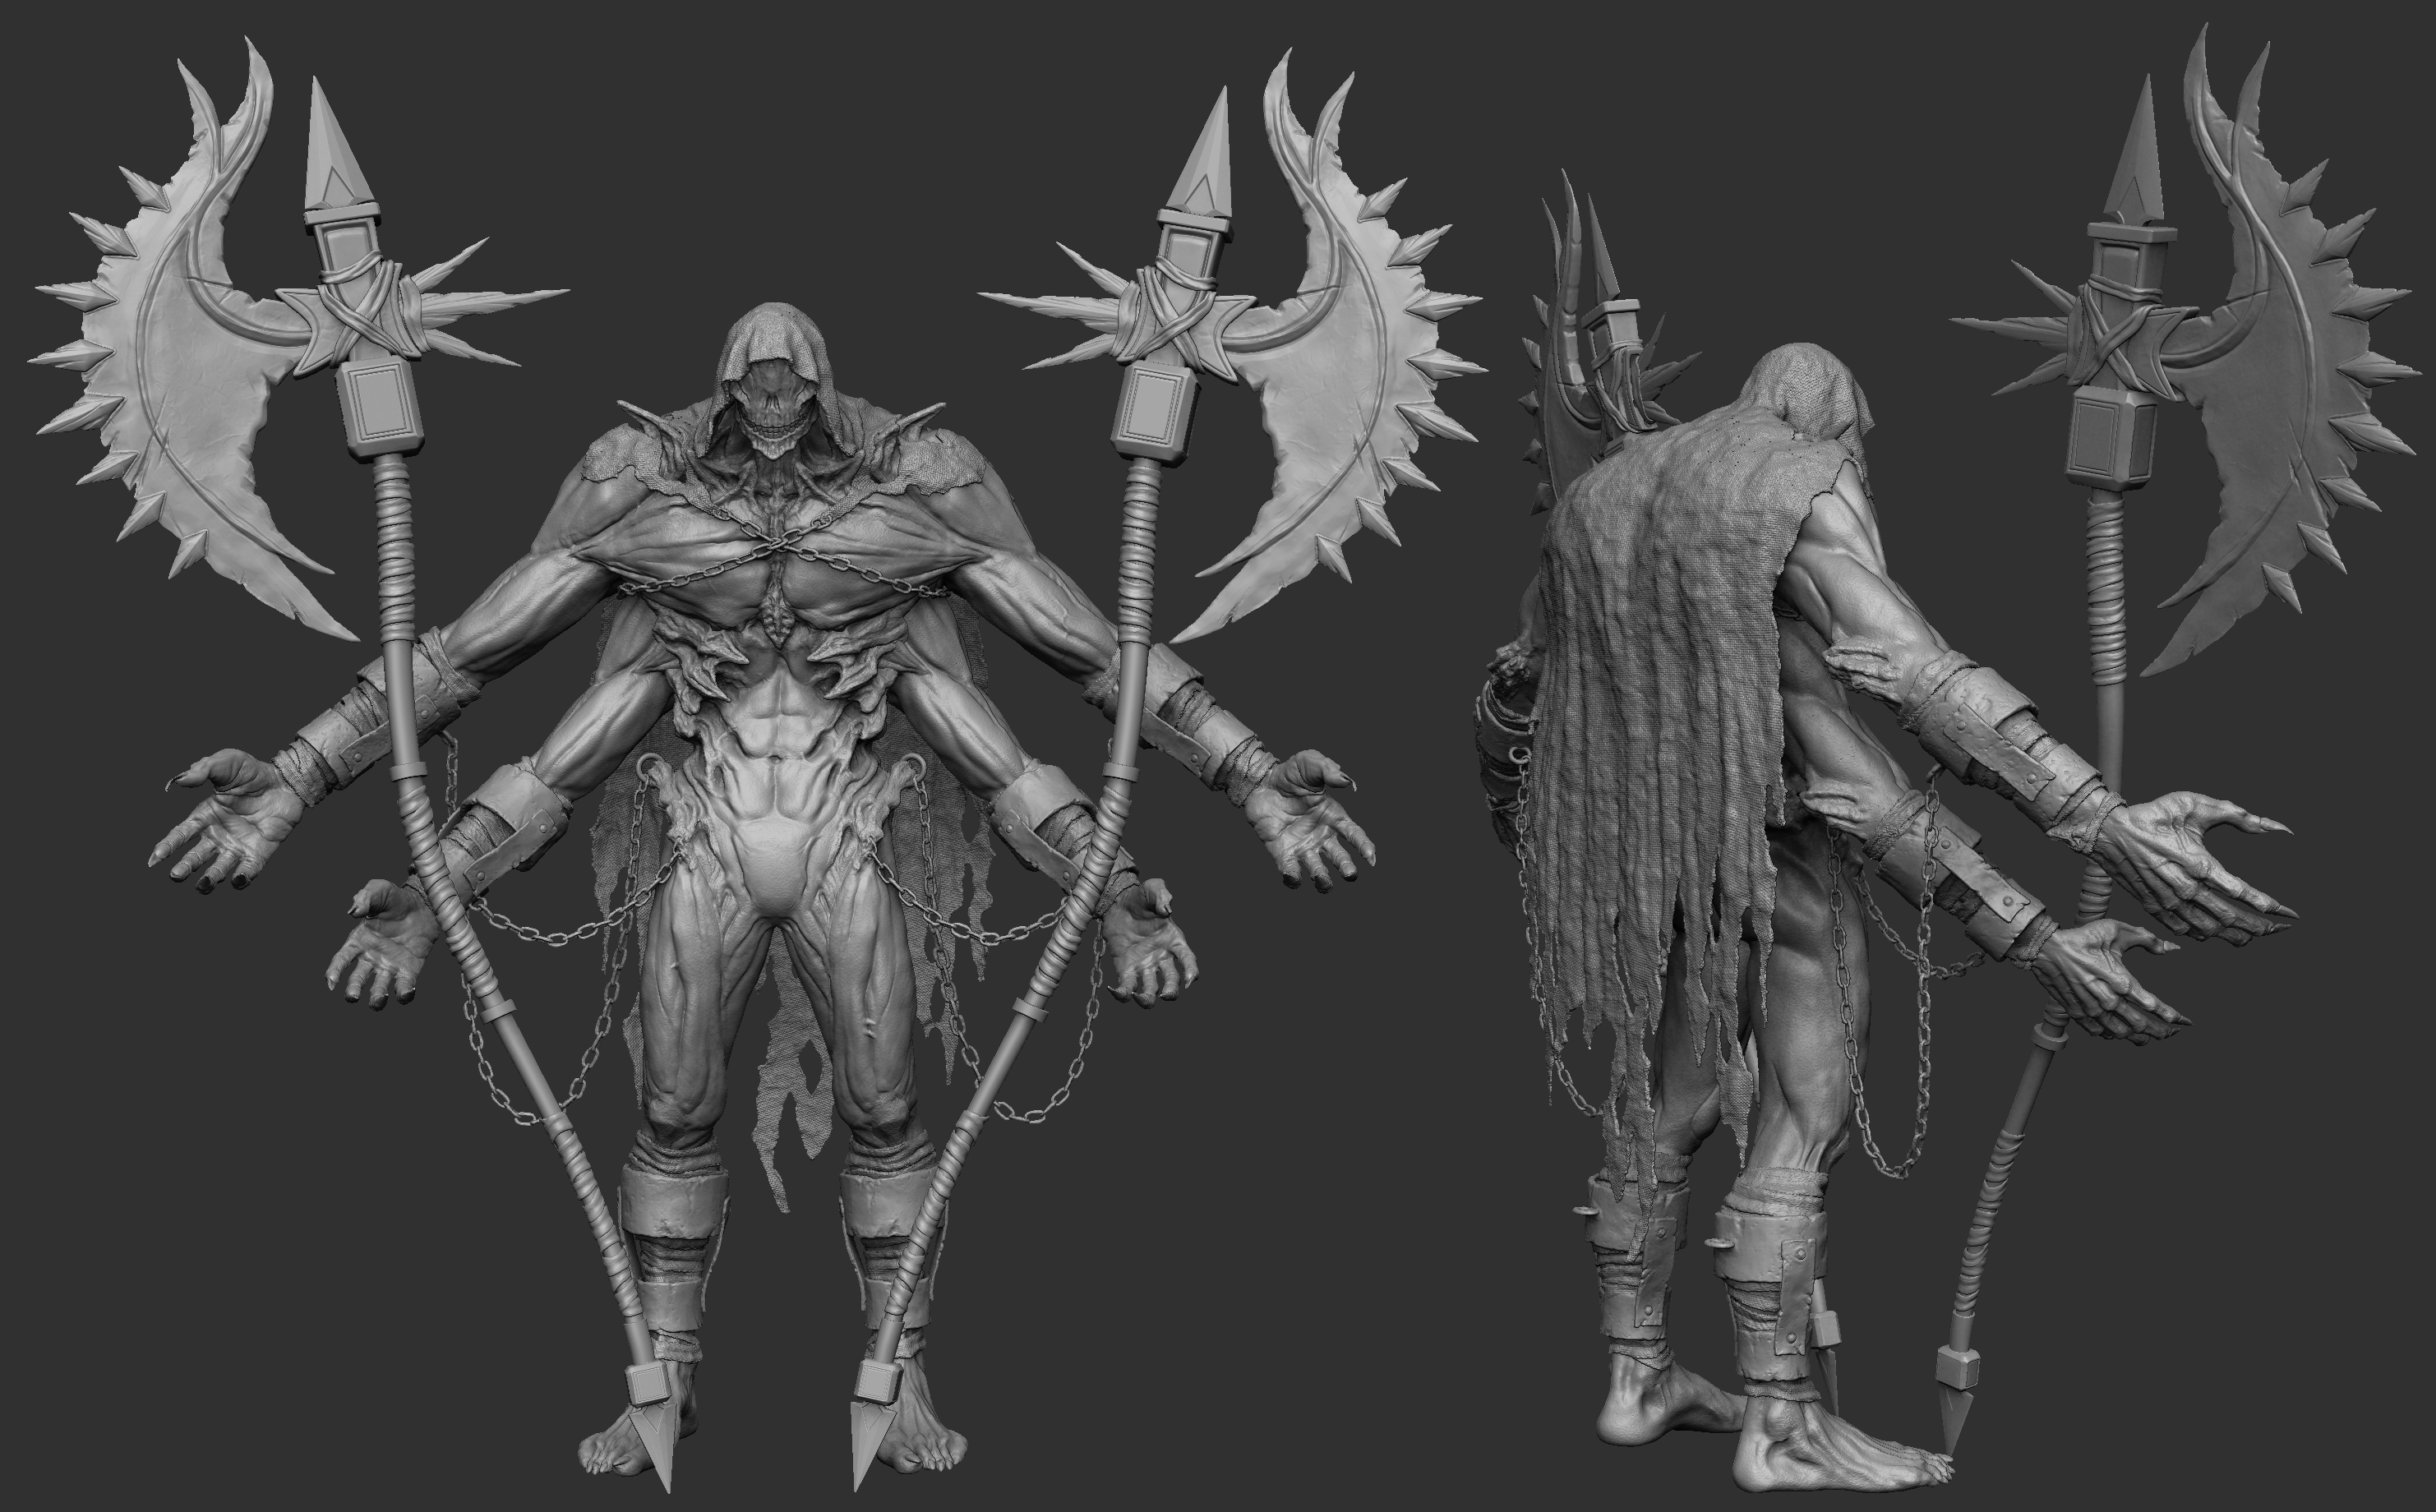
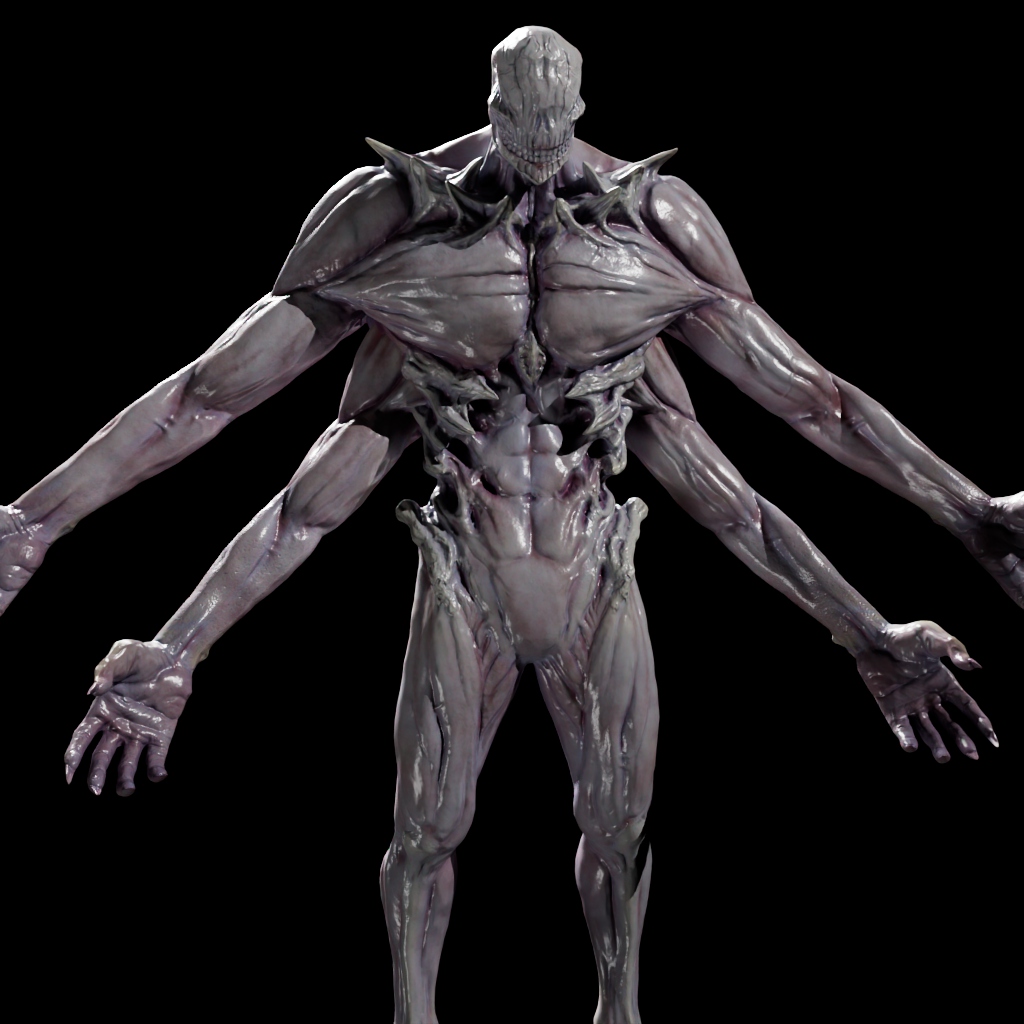
Final Highpoly Sculpt

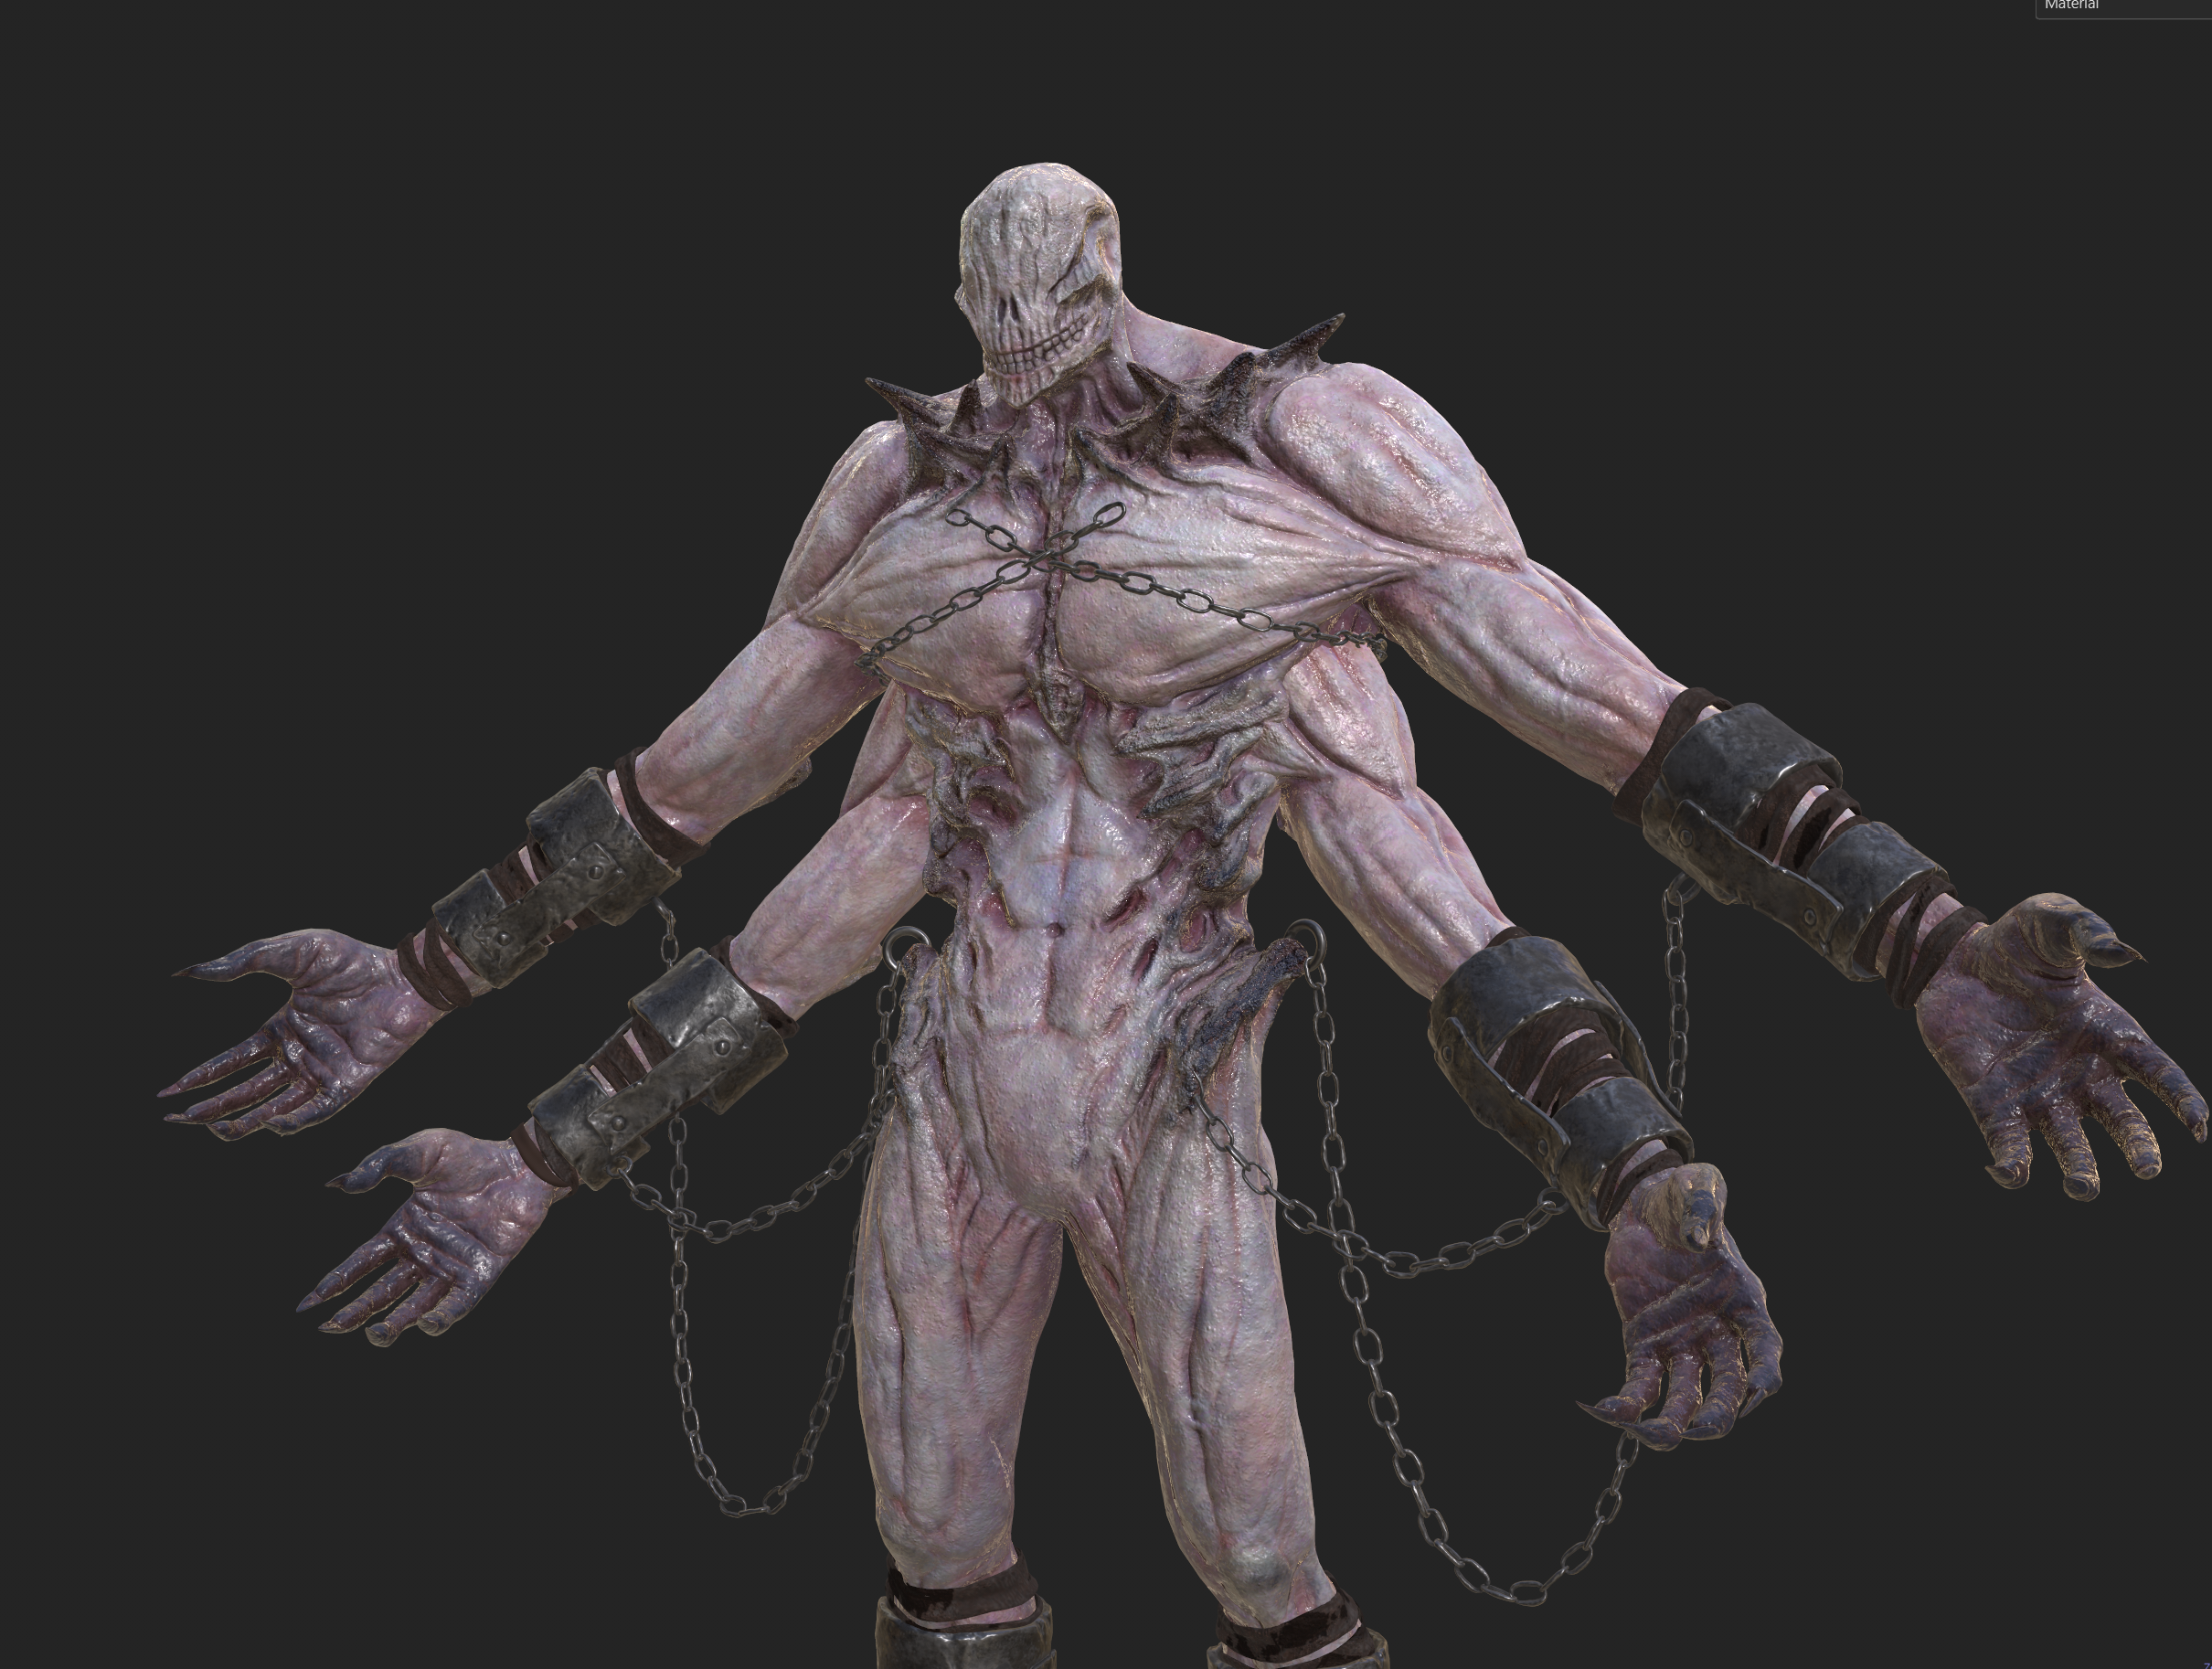
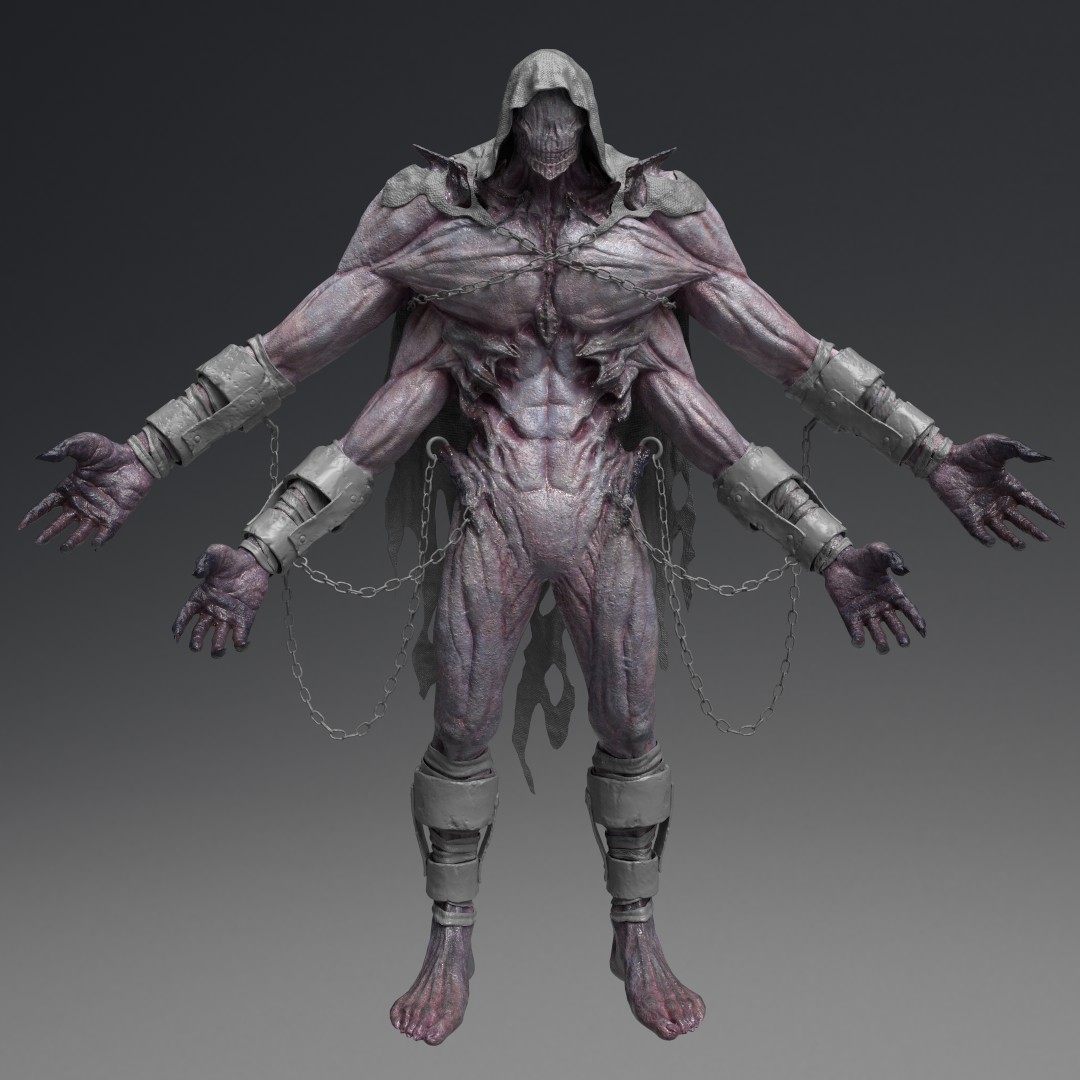
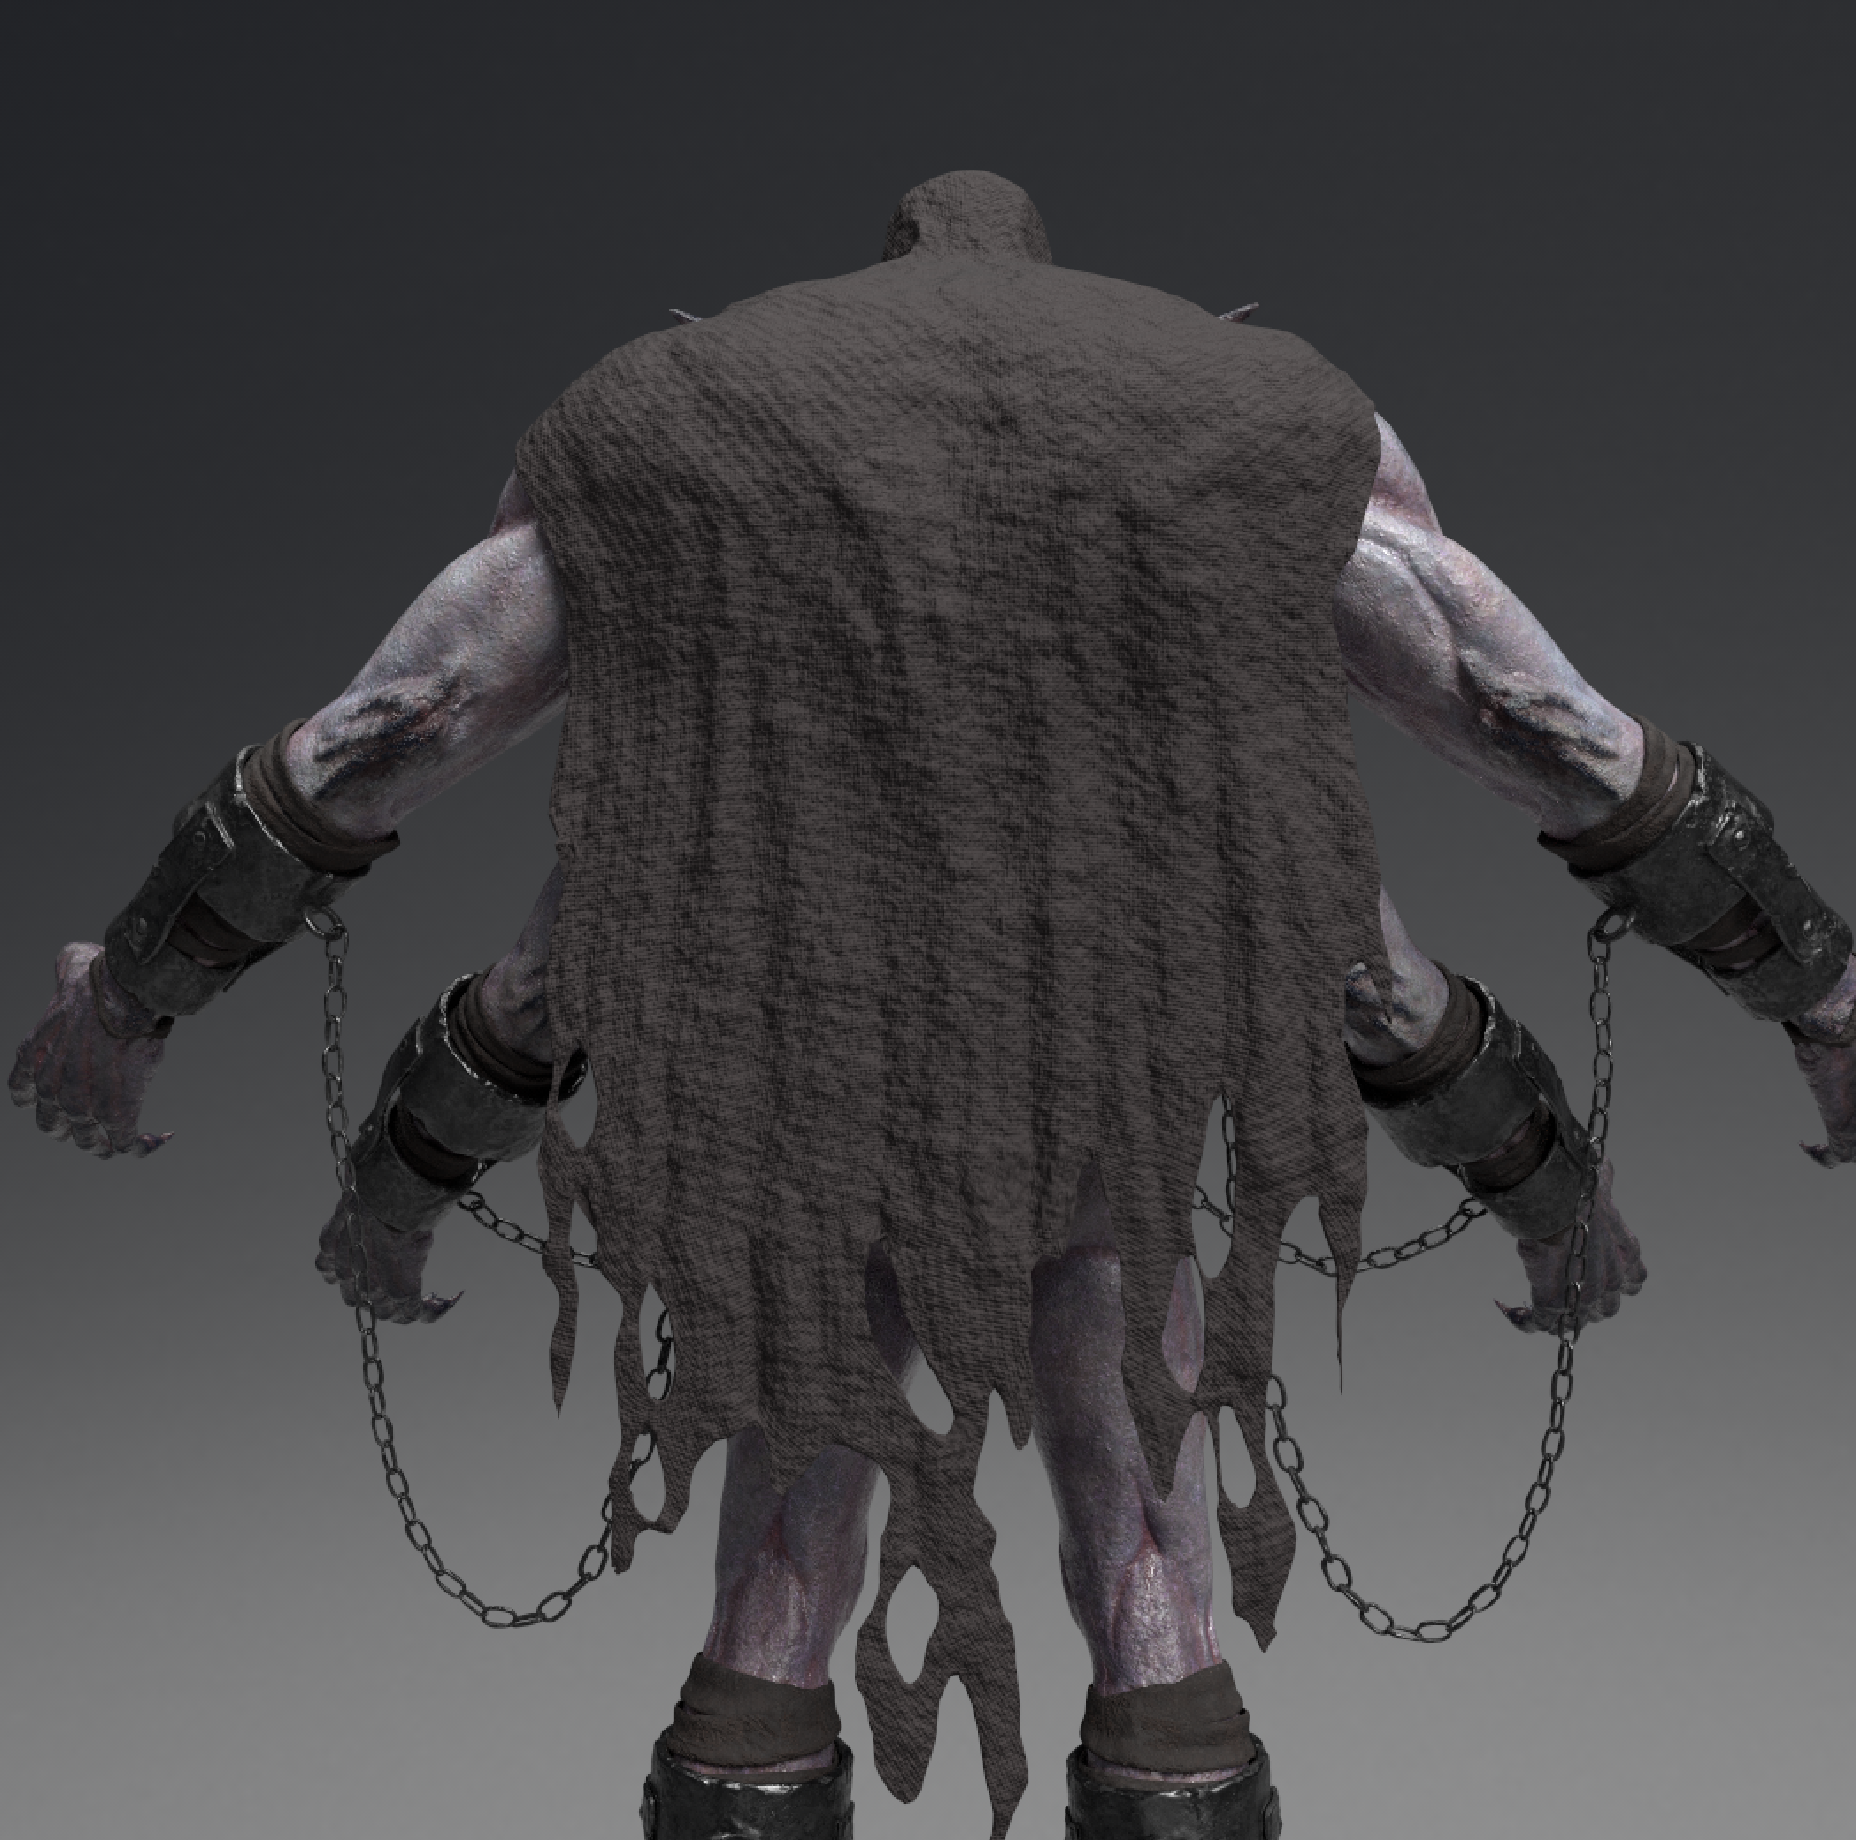
Texturing
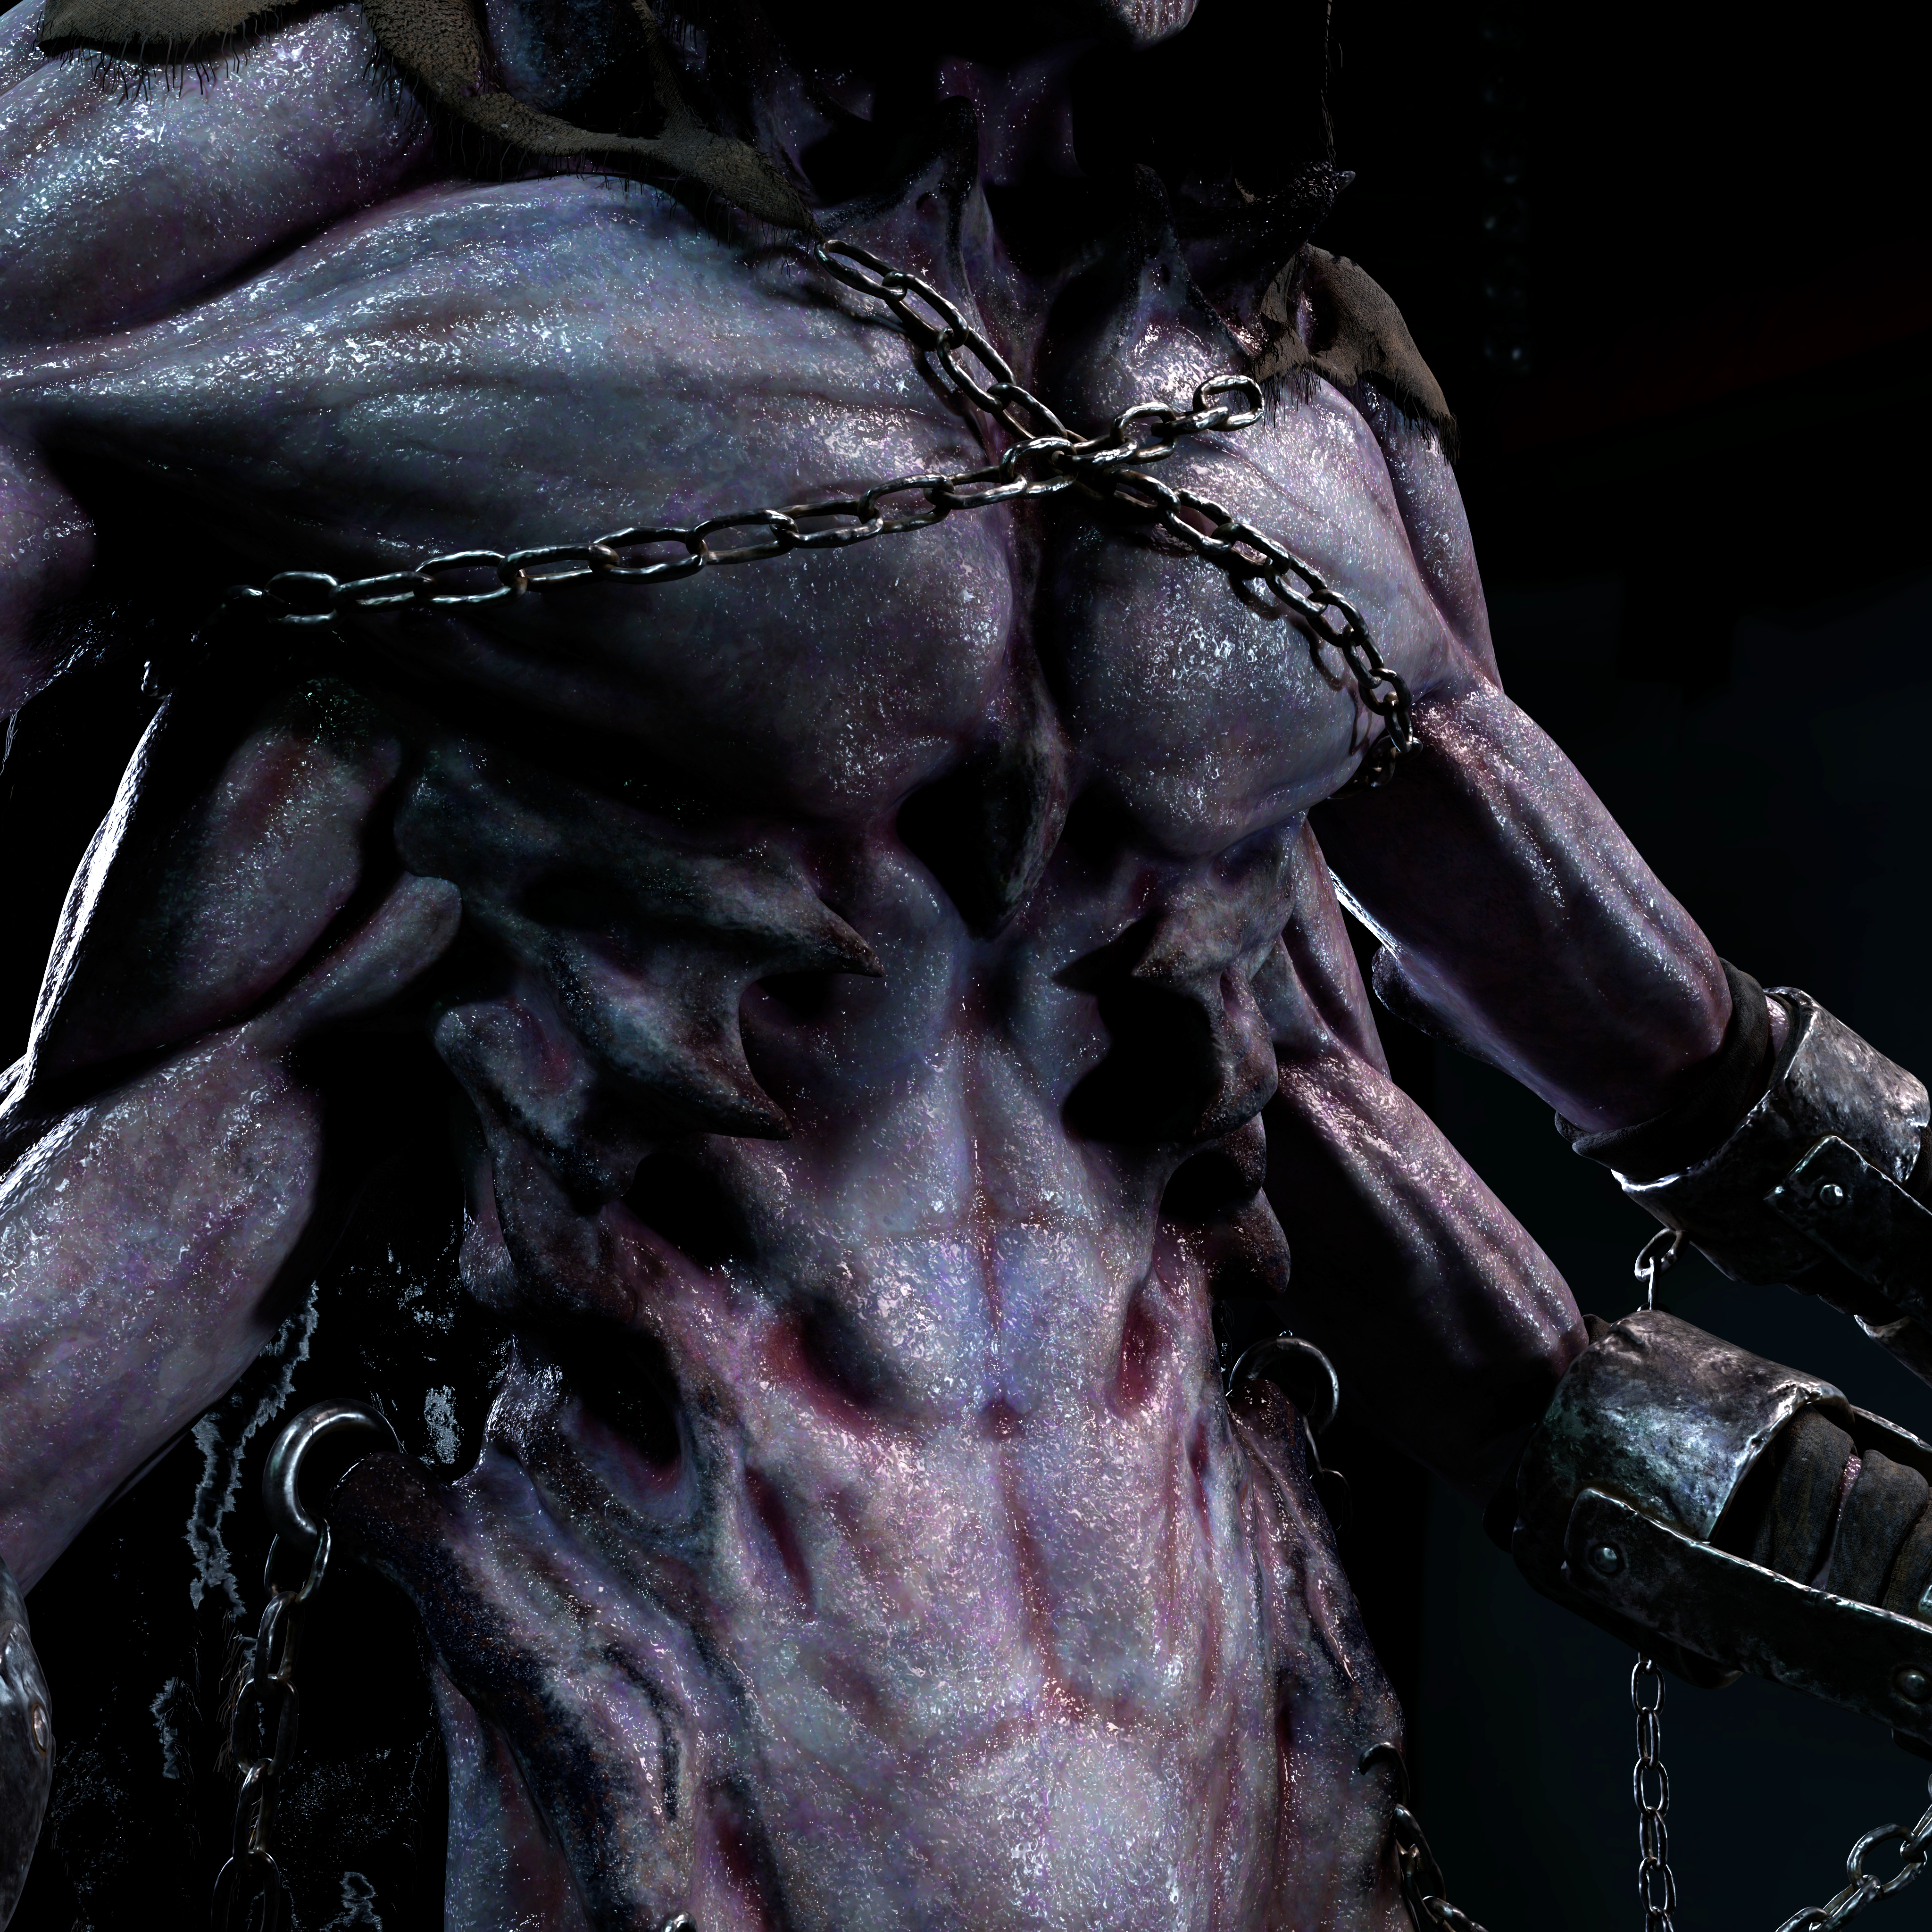
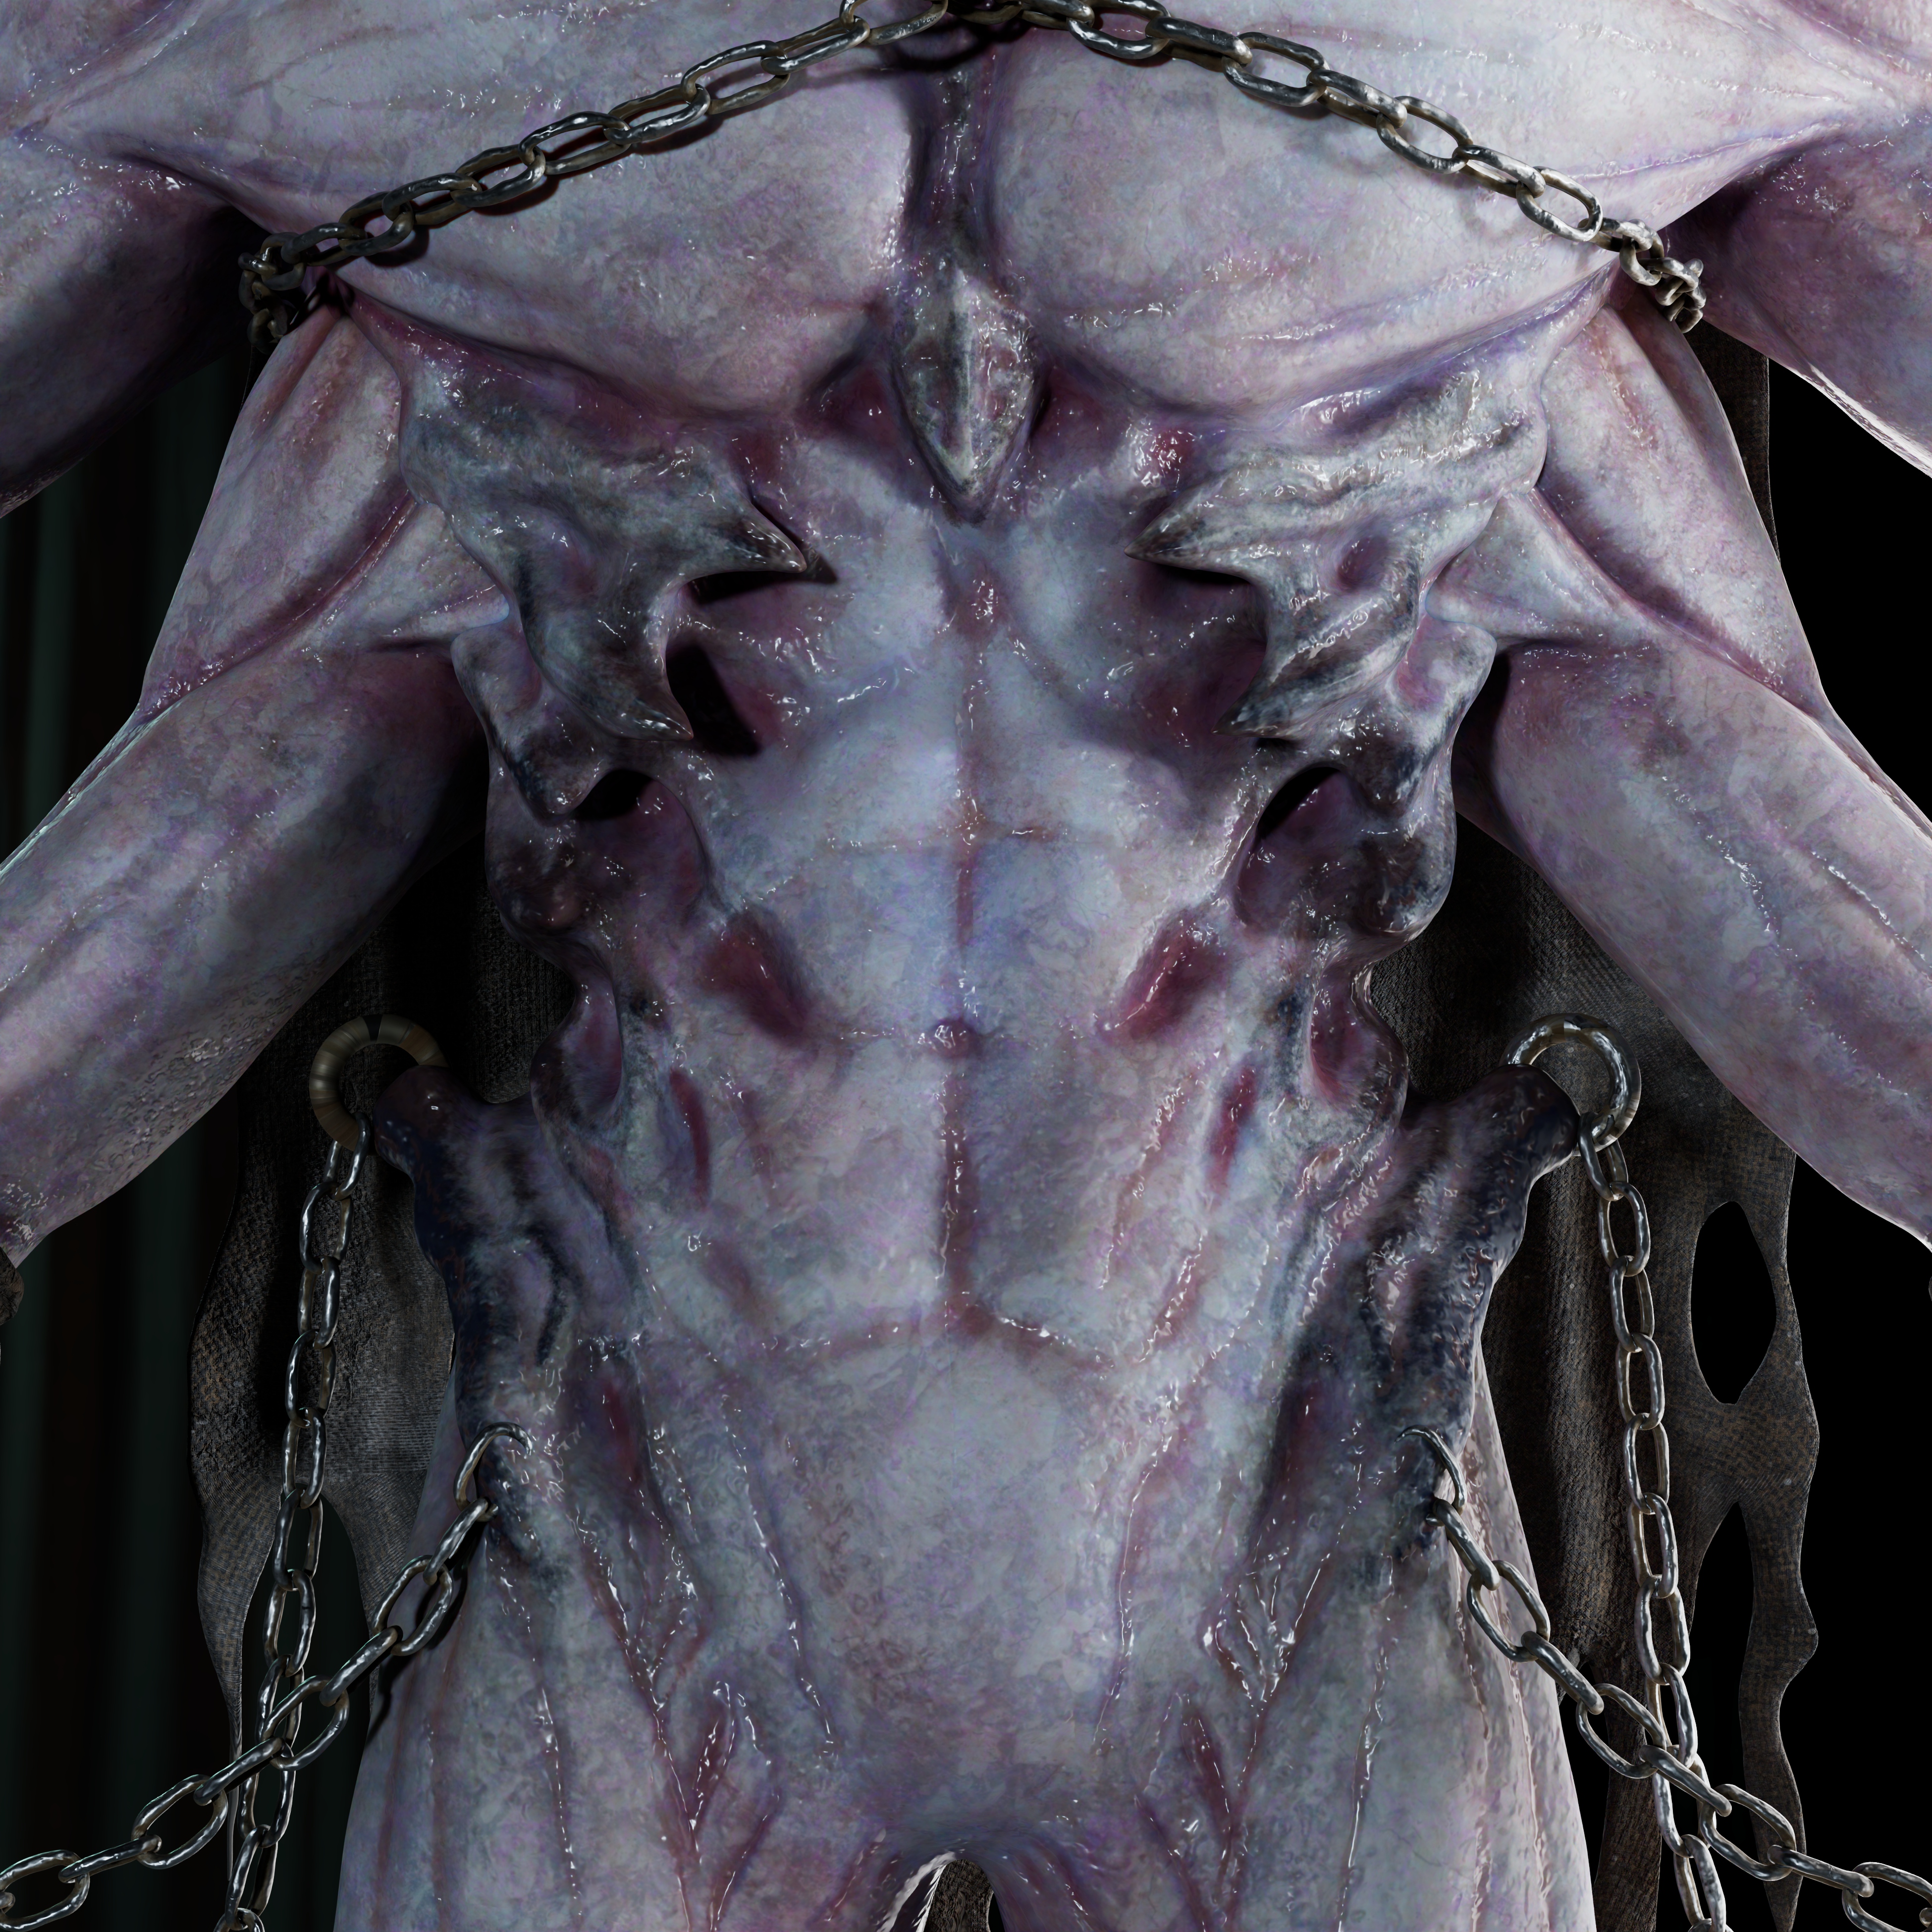
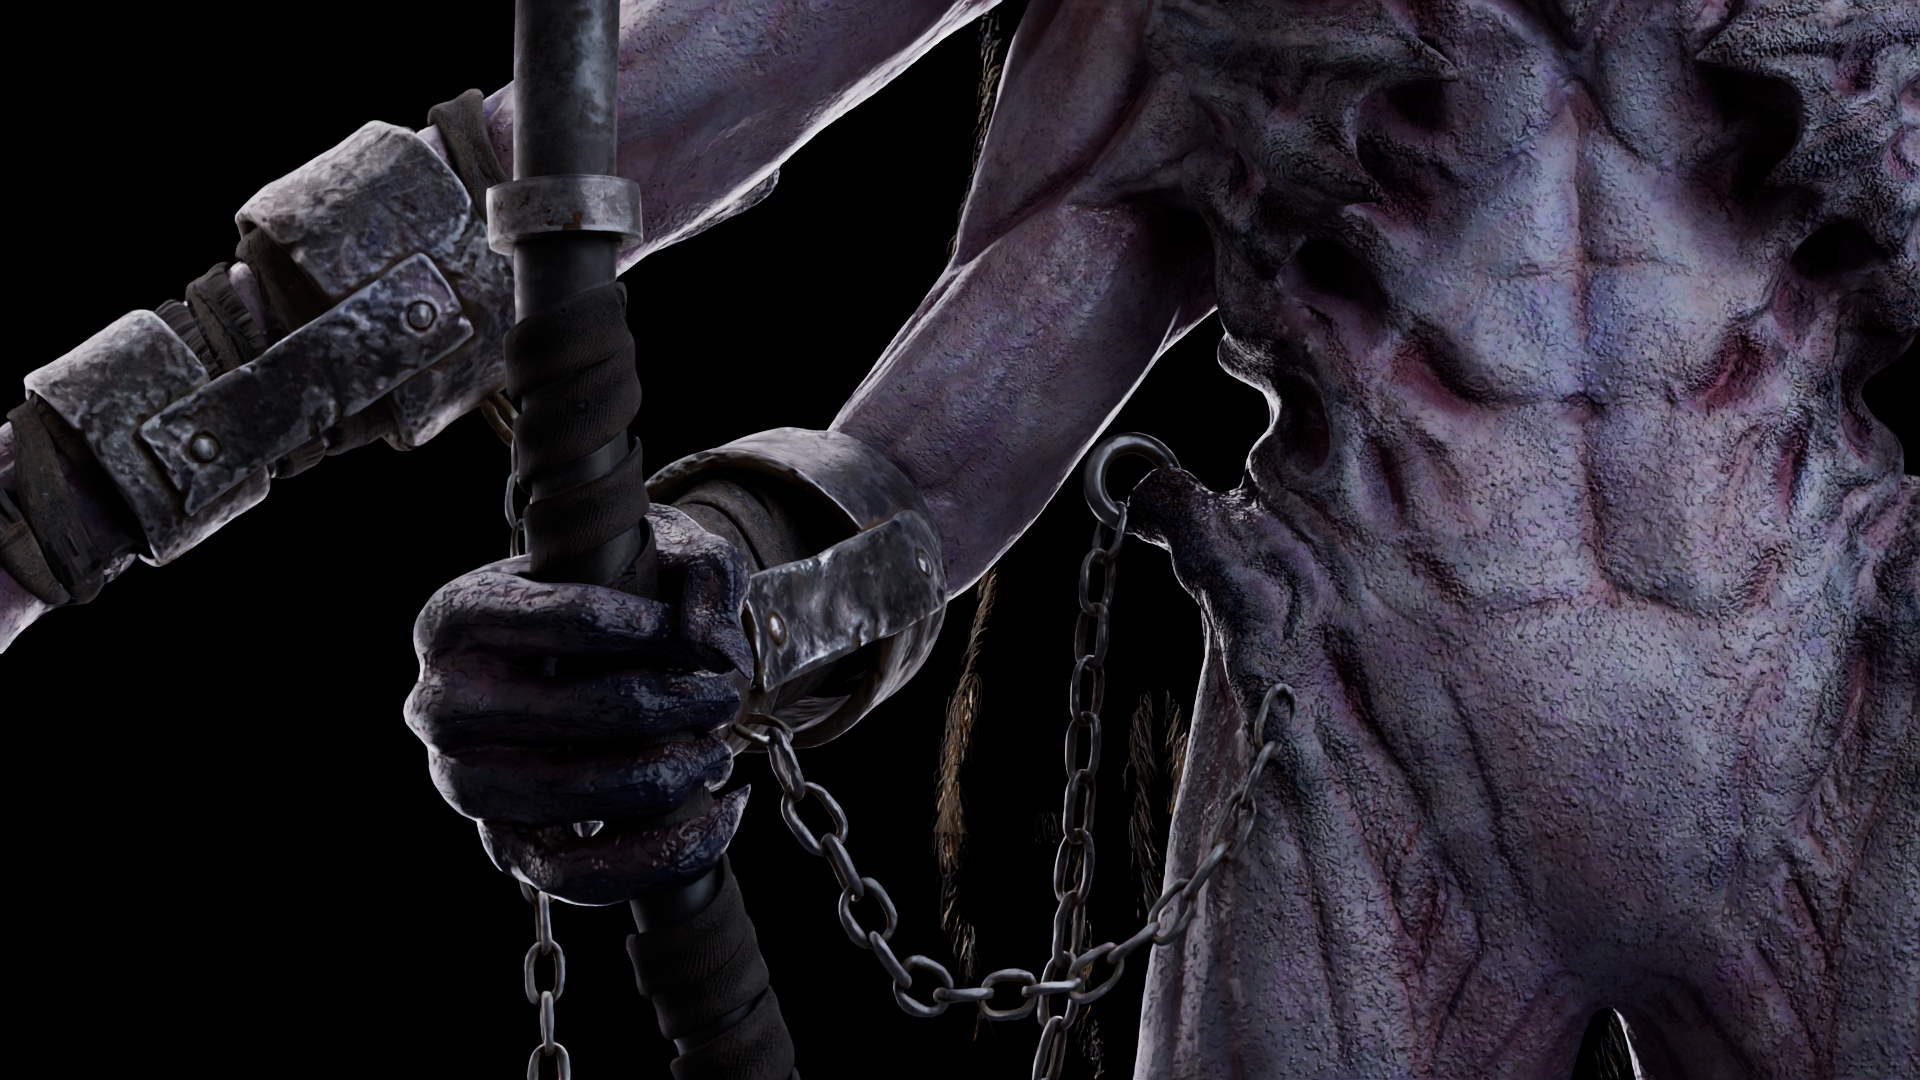
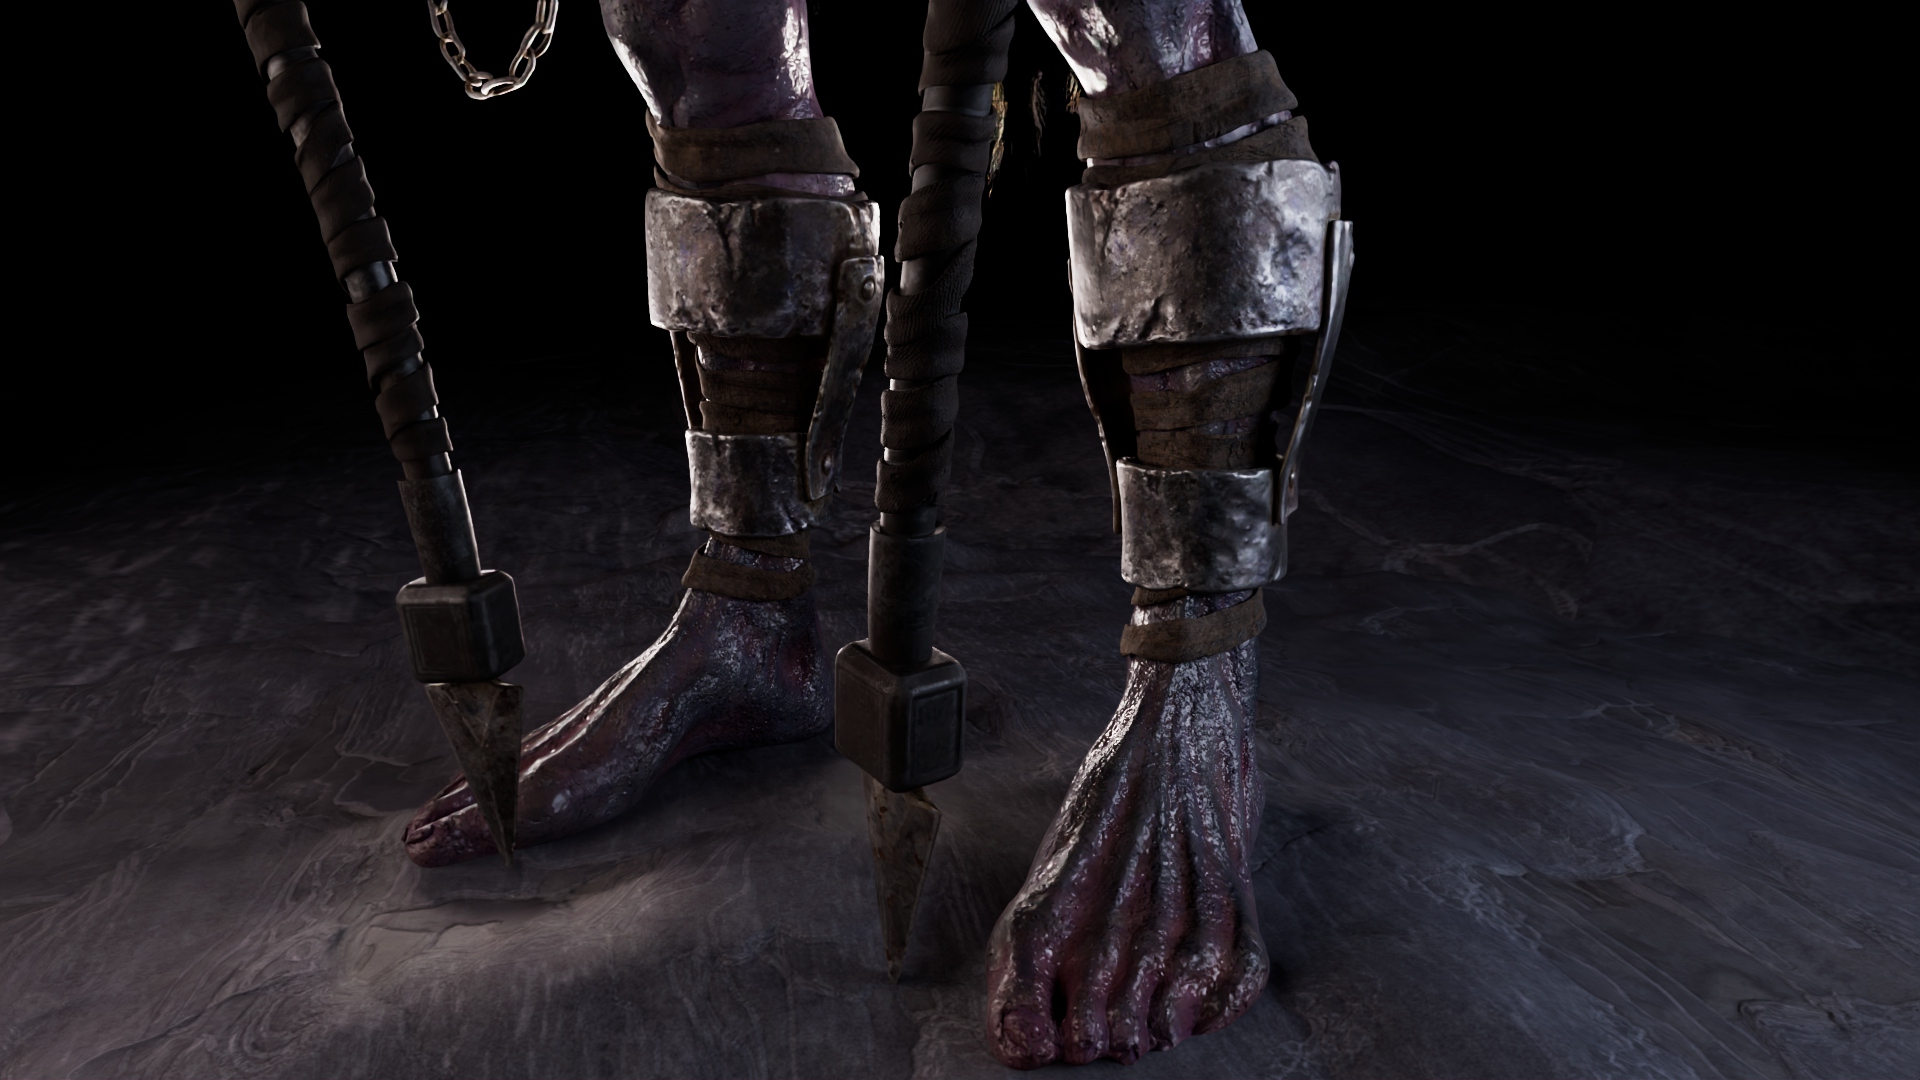
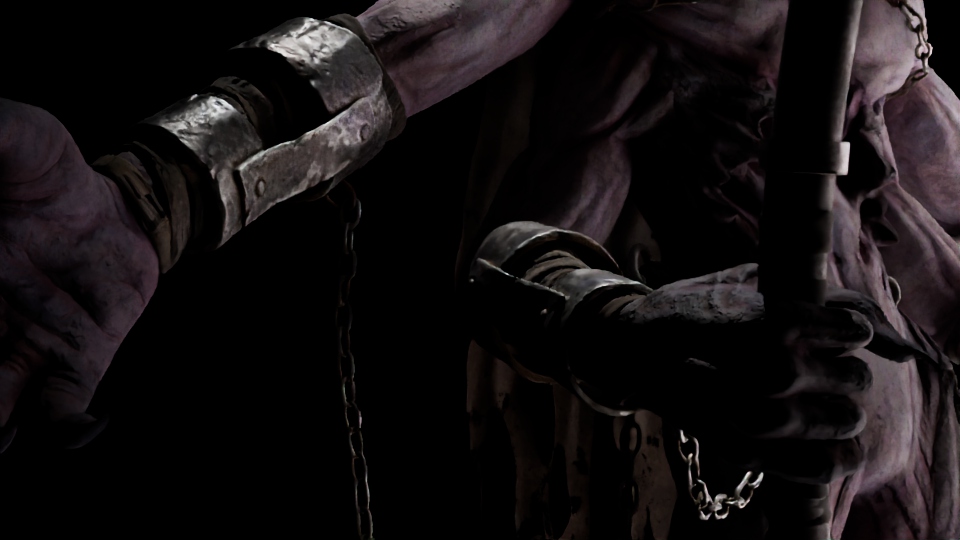
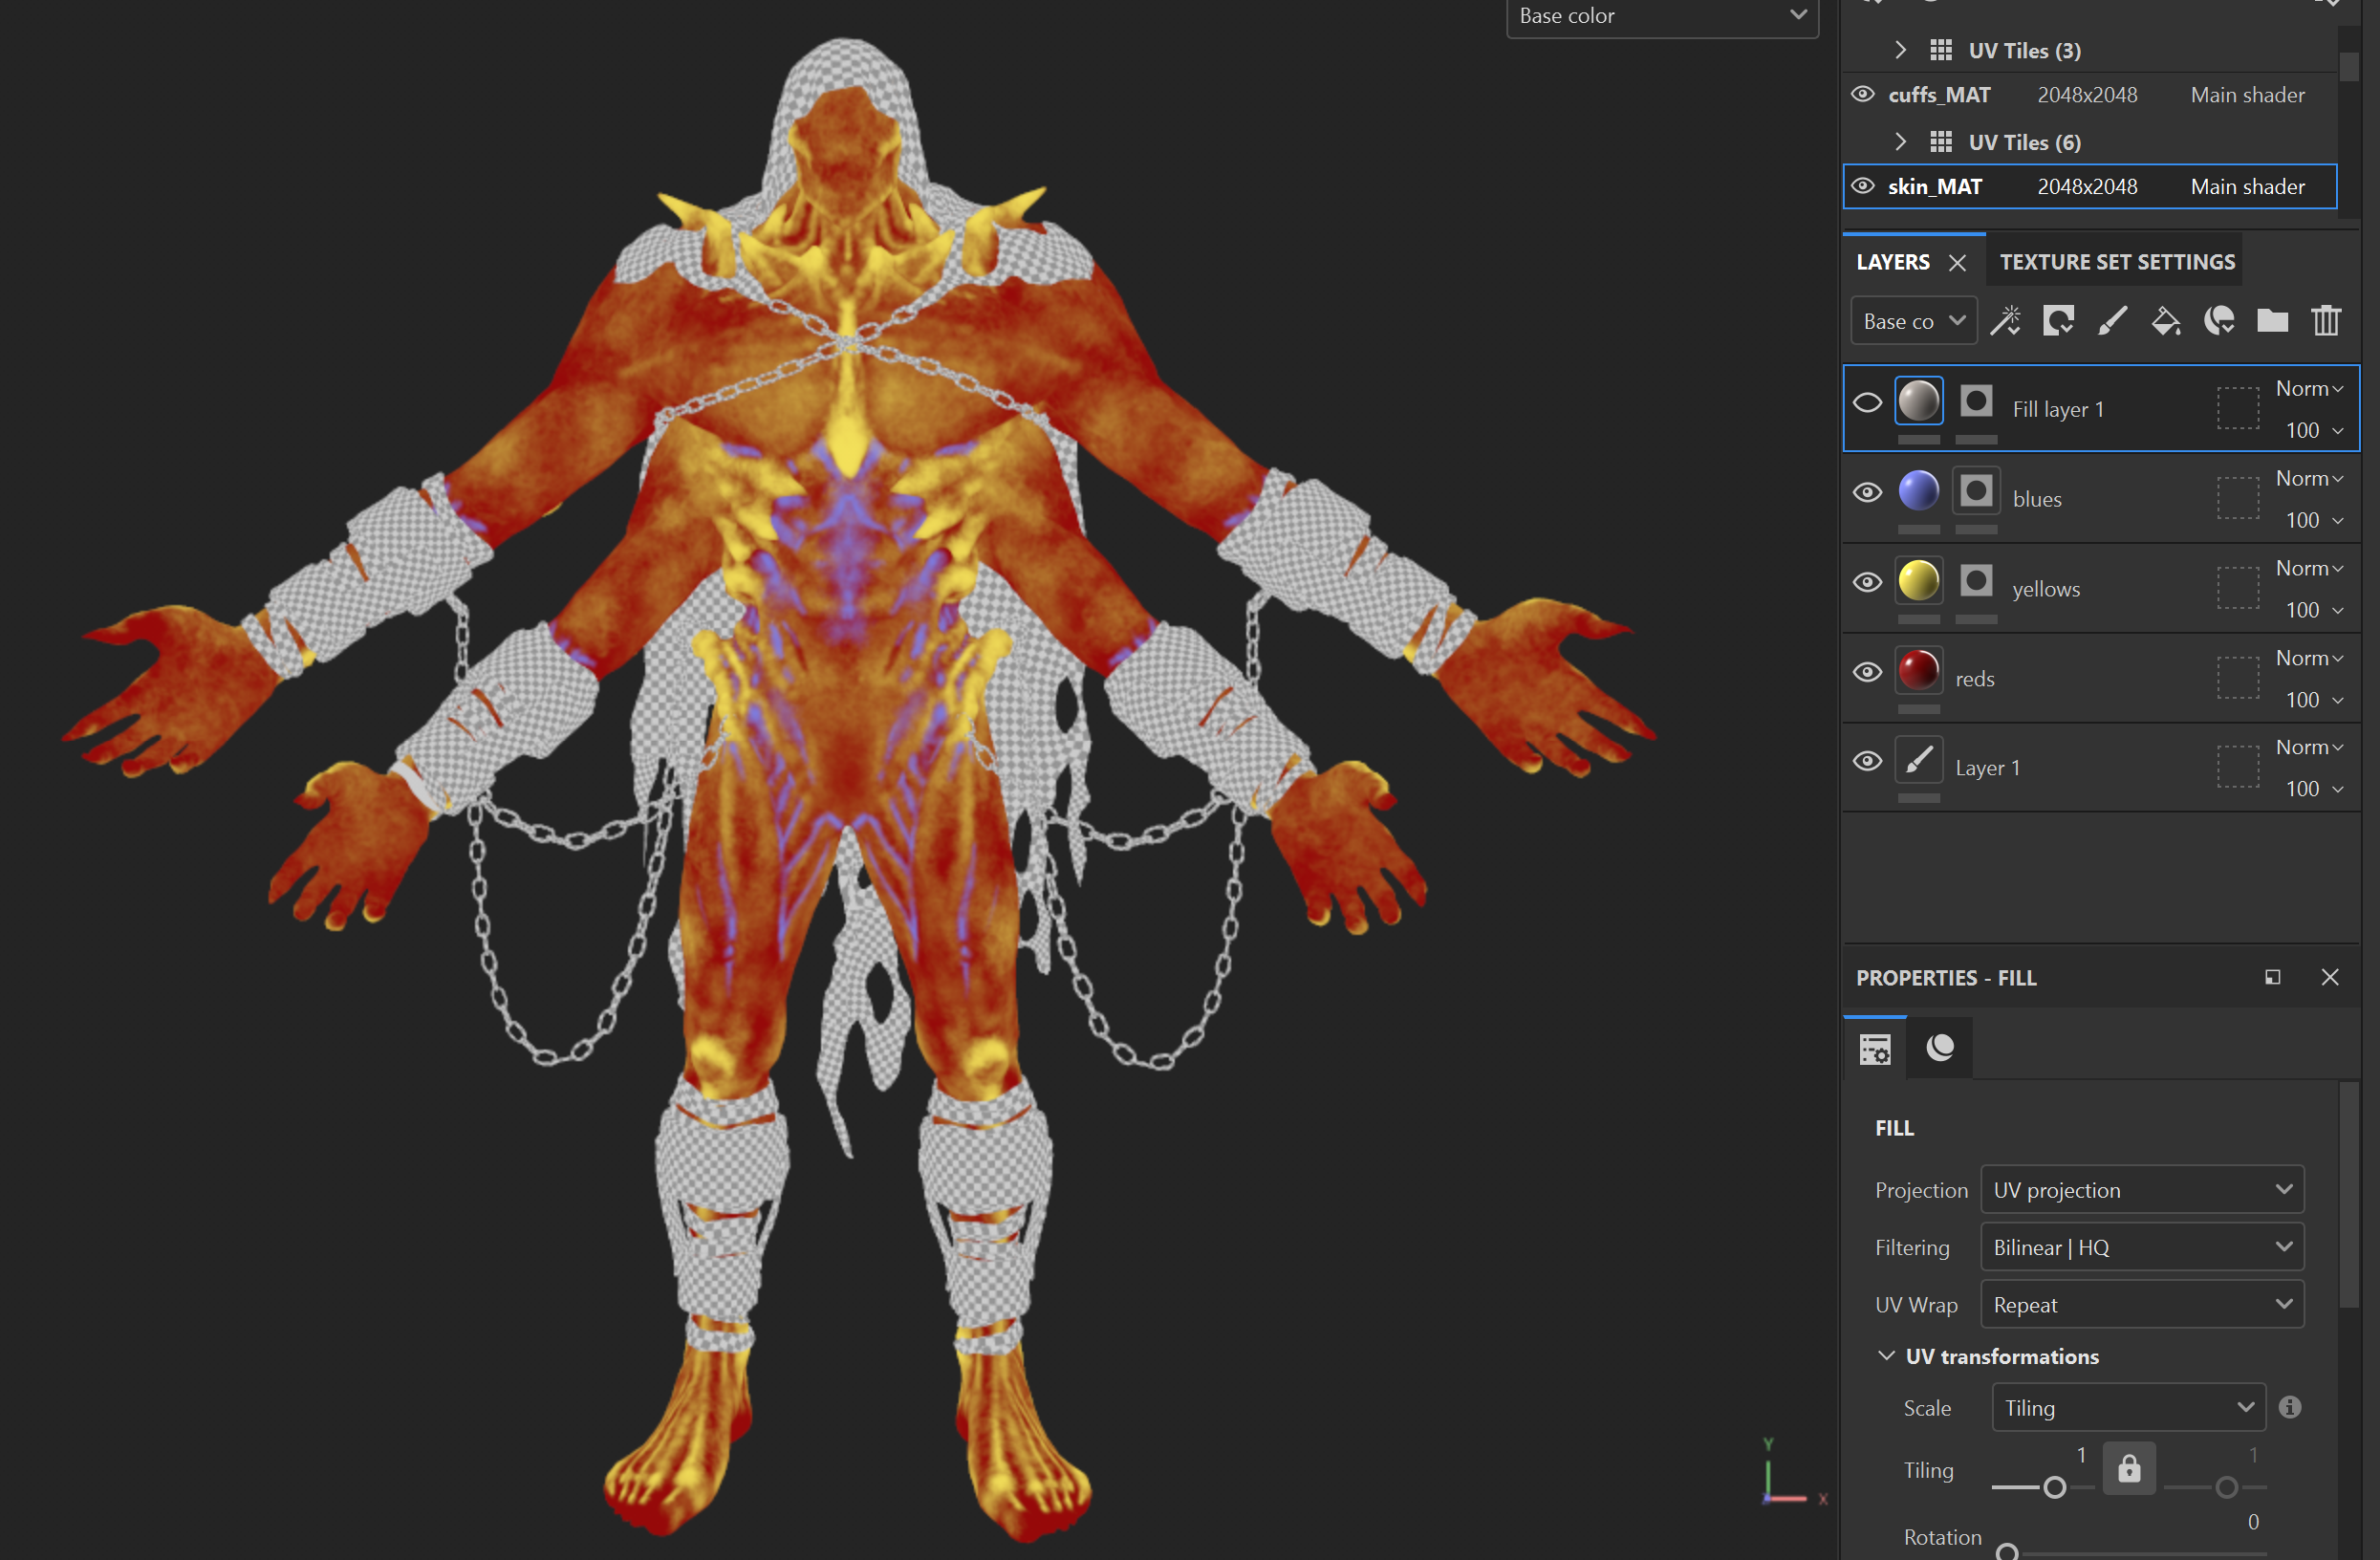
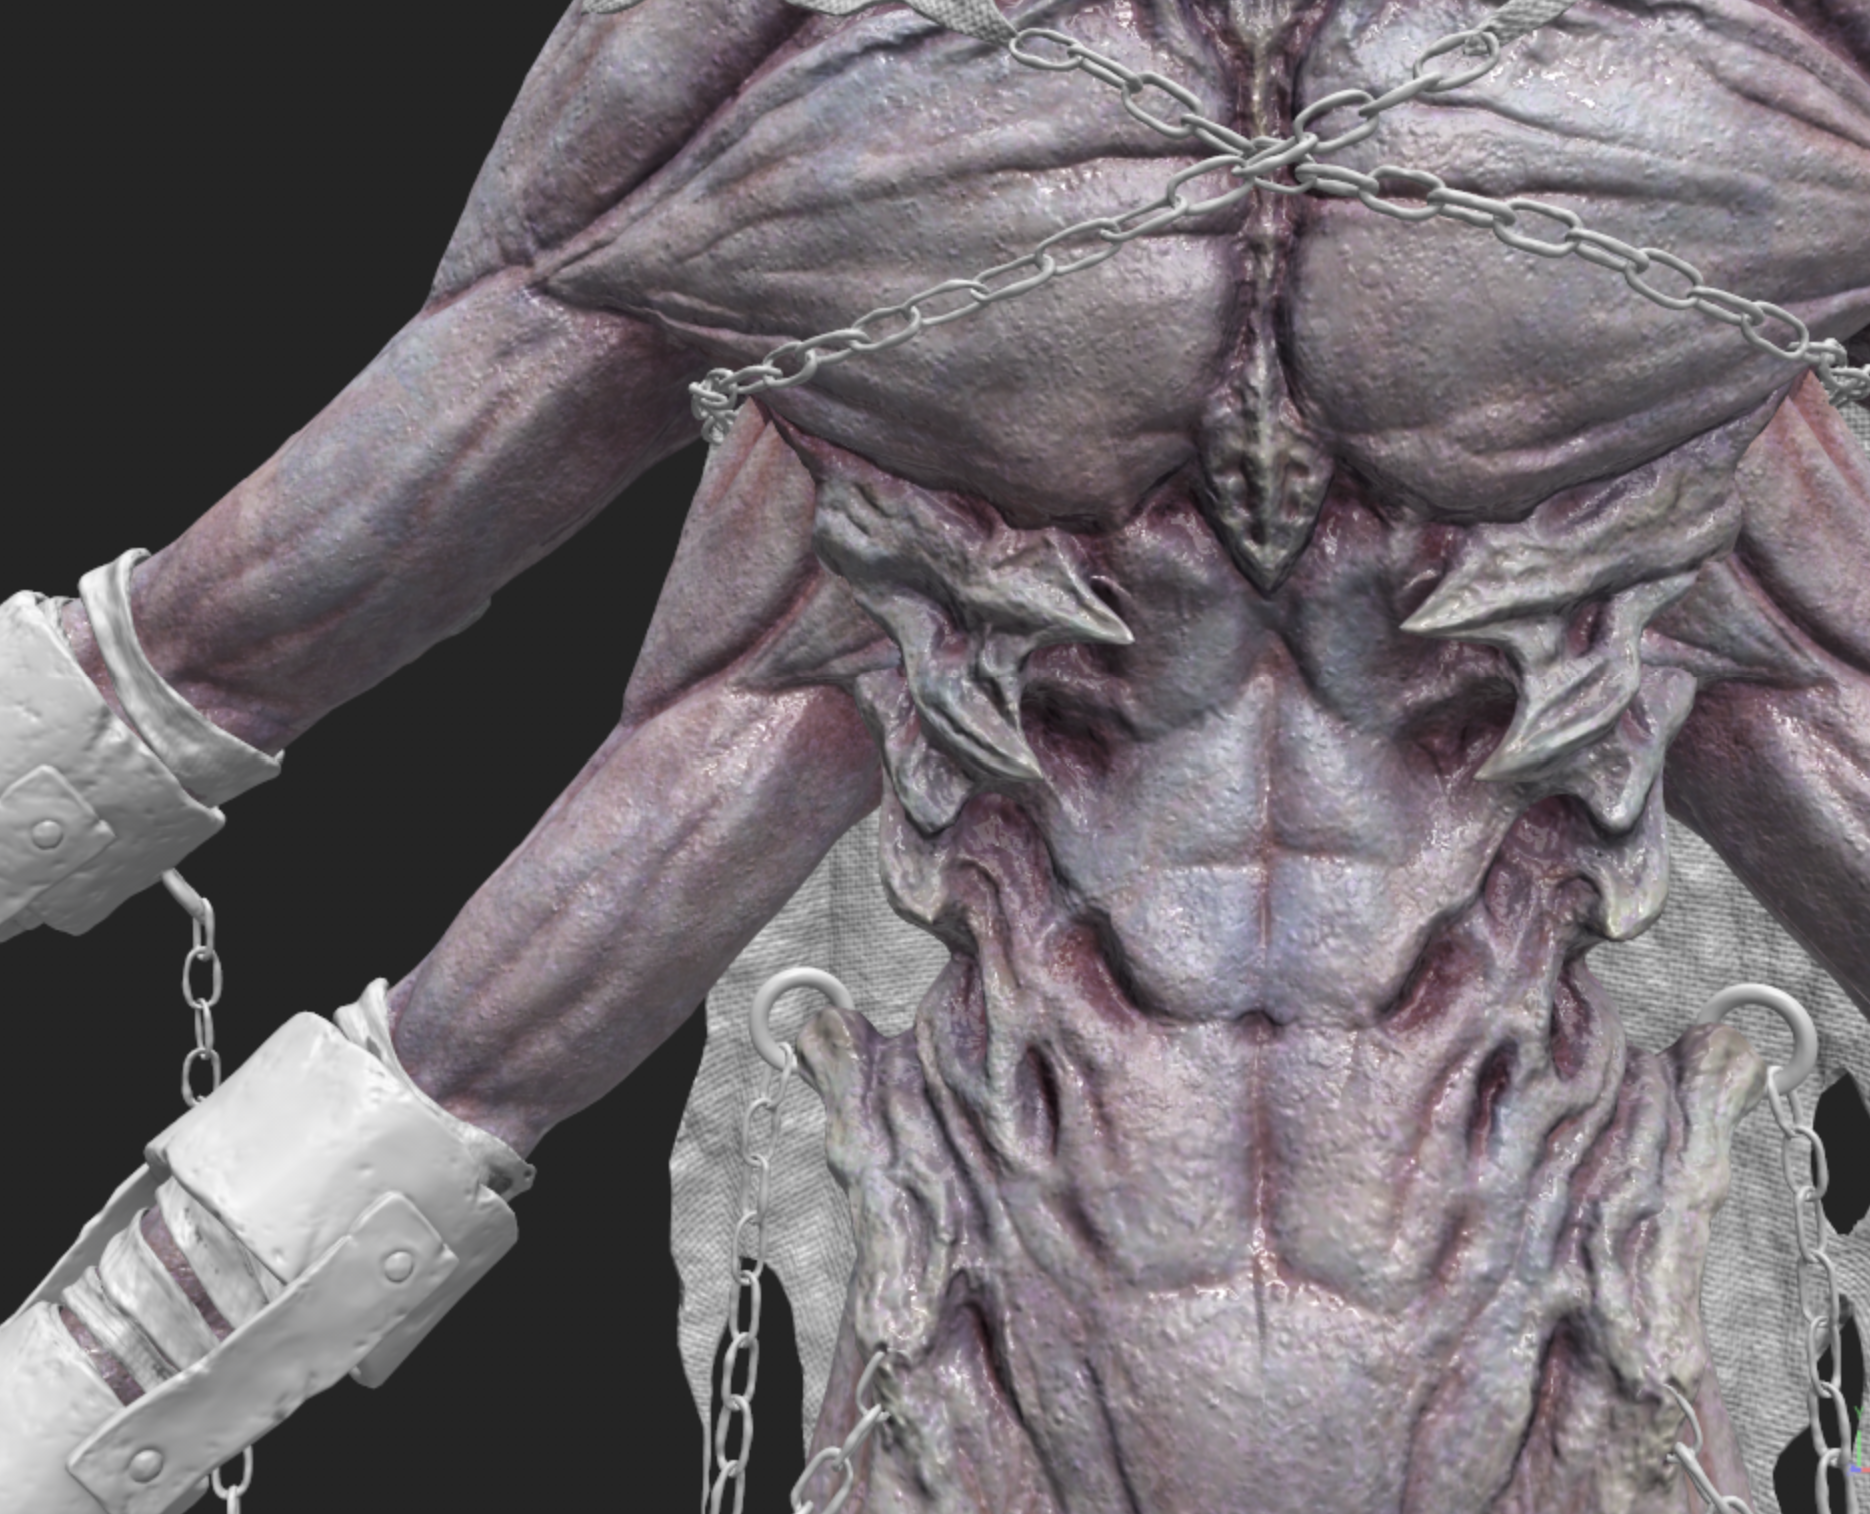
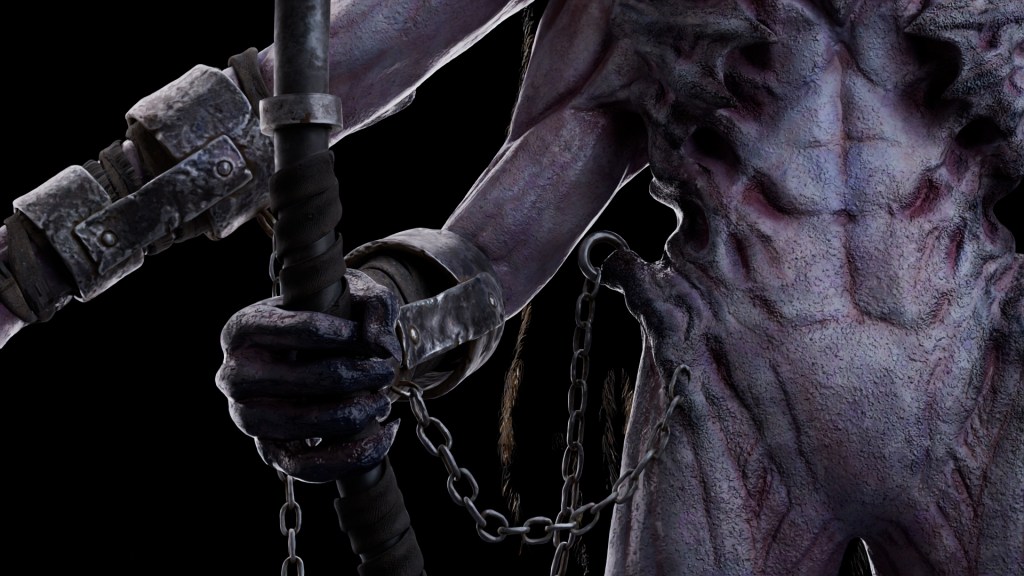
Texturing was a major phase of artistic exploration. I began by painting sub-dermal and dermal layers, followed by blush tones, skin noise breakup, subsurface scattering (SSS), roughness, height, and normal maps to achieve a realistic and layered skin look. Materials like metal and cloth were carefully developed to complement the skin, ensuring they enhanced rather than distracted from the character’s visual focus.
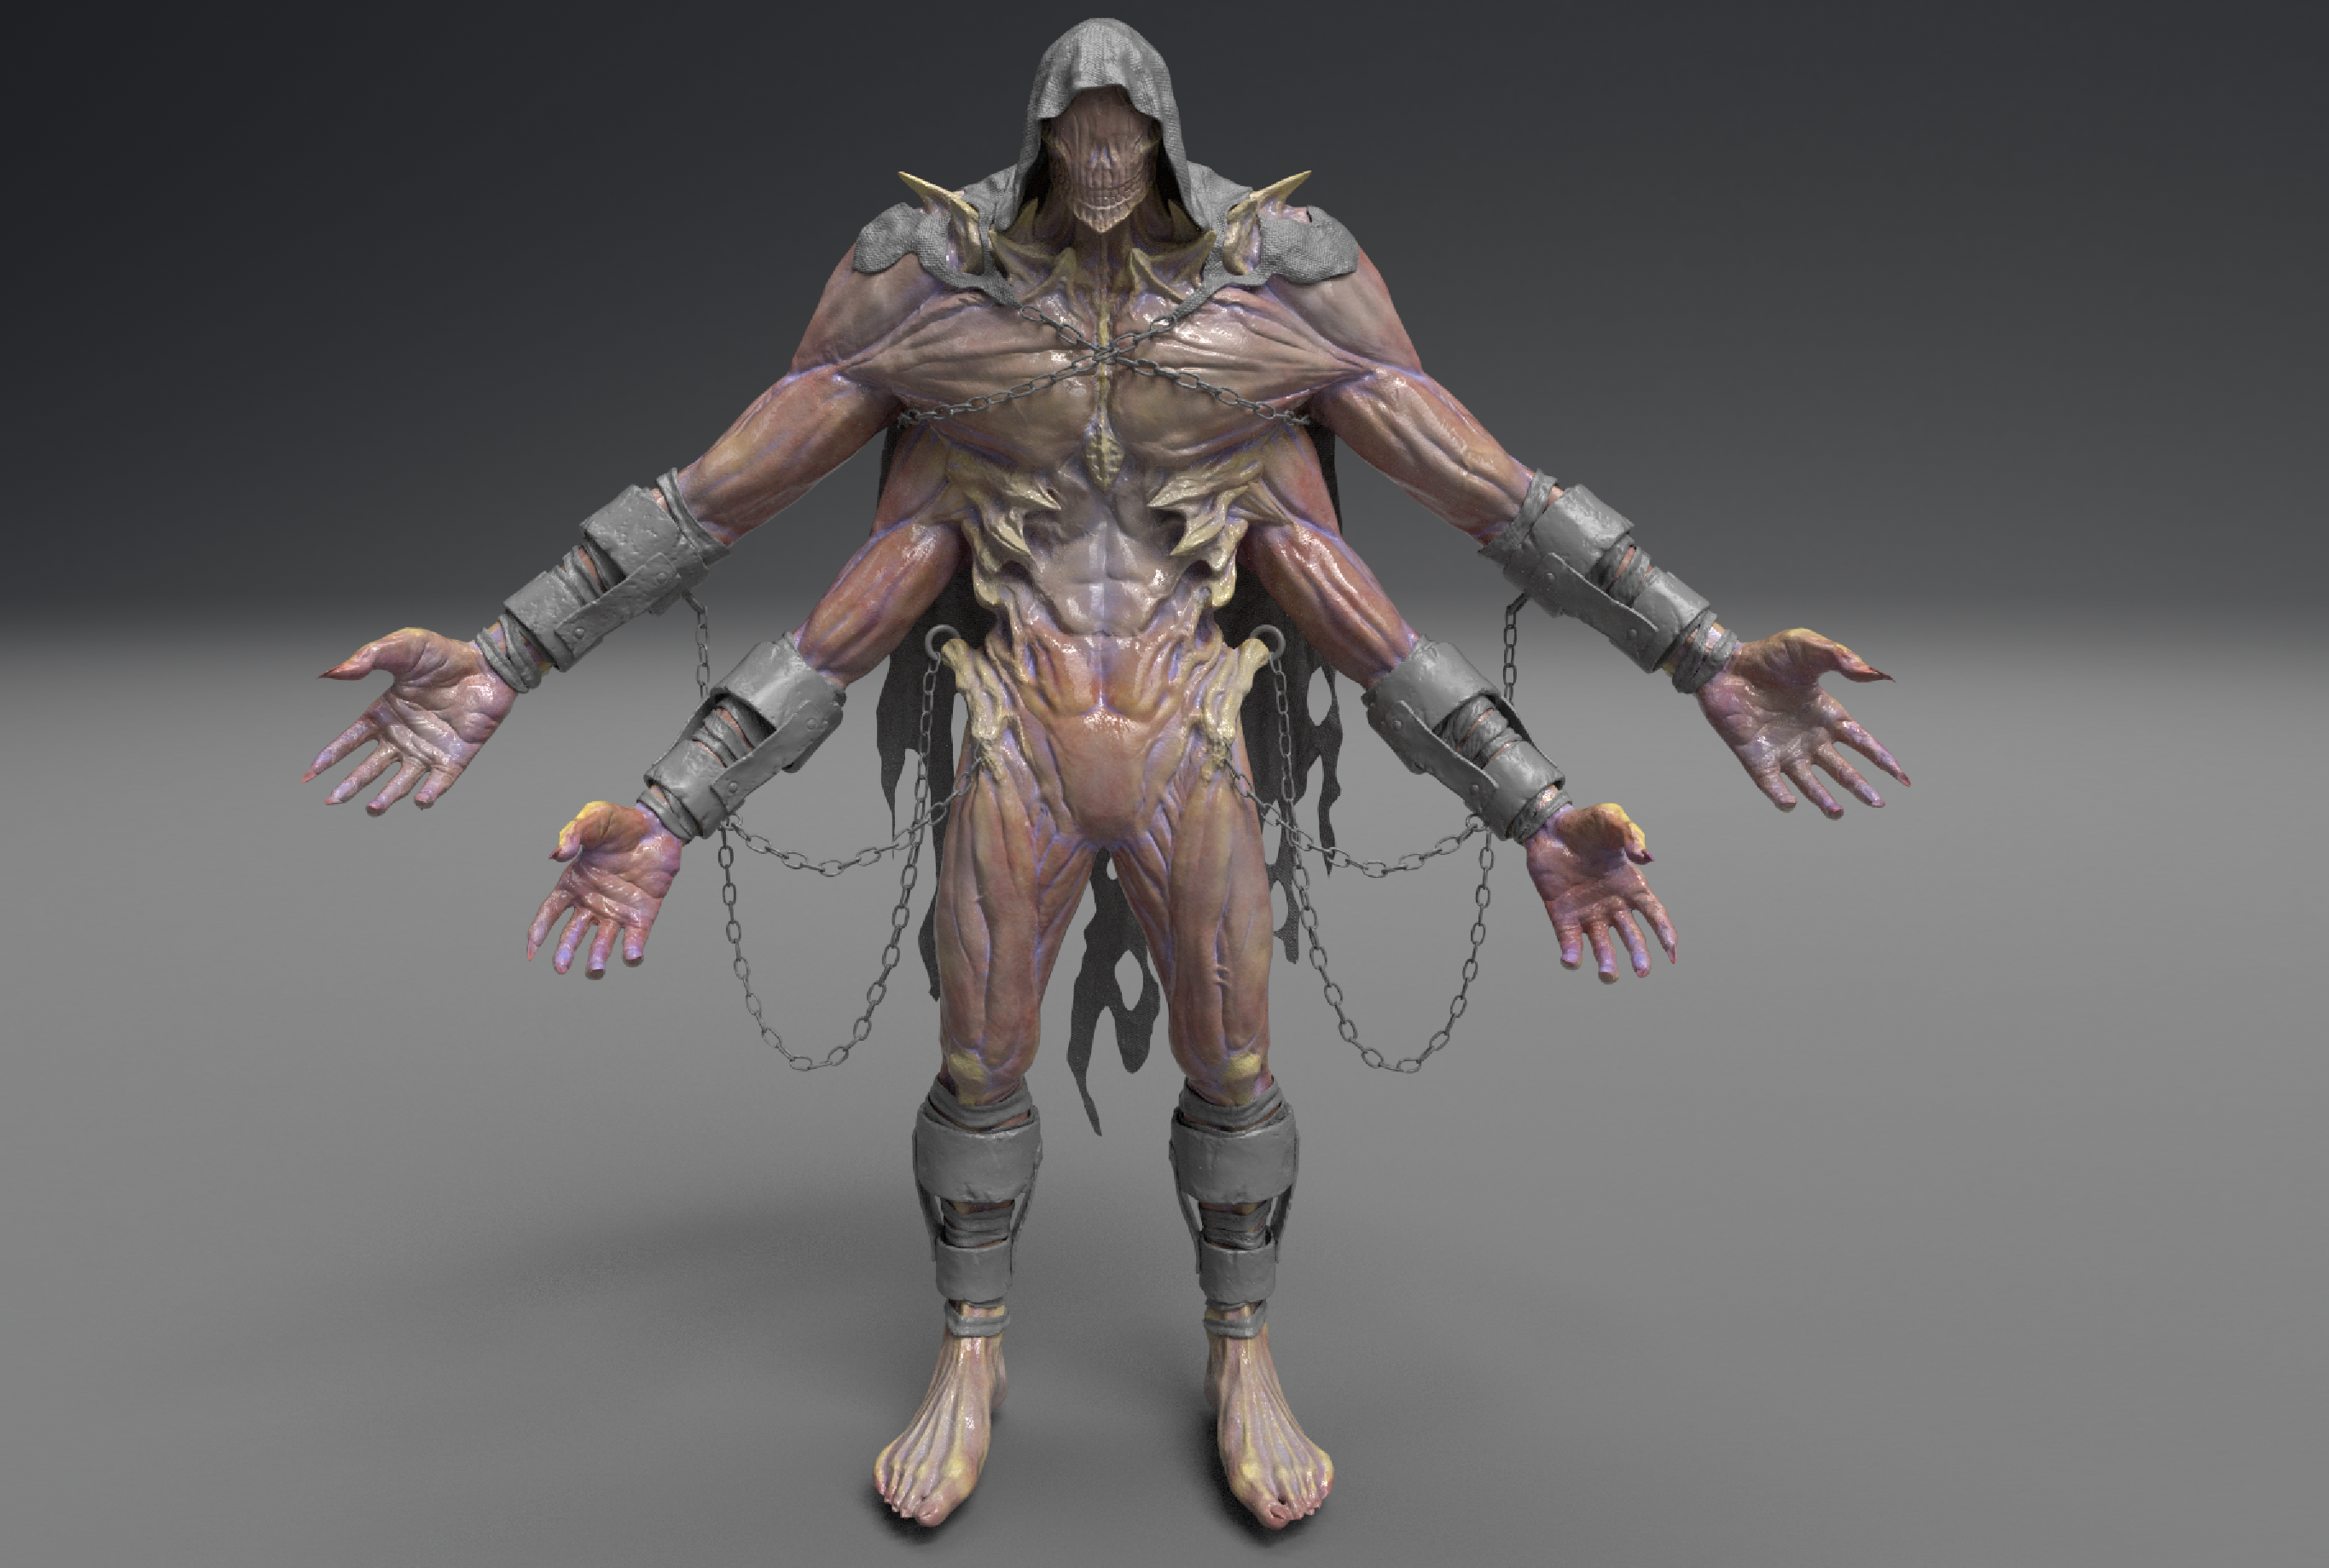

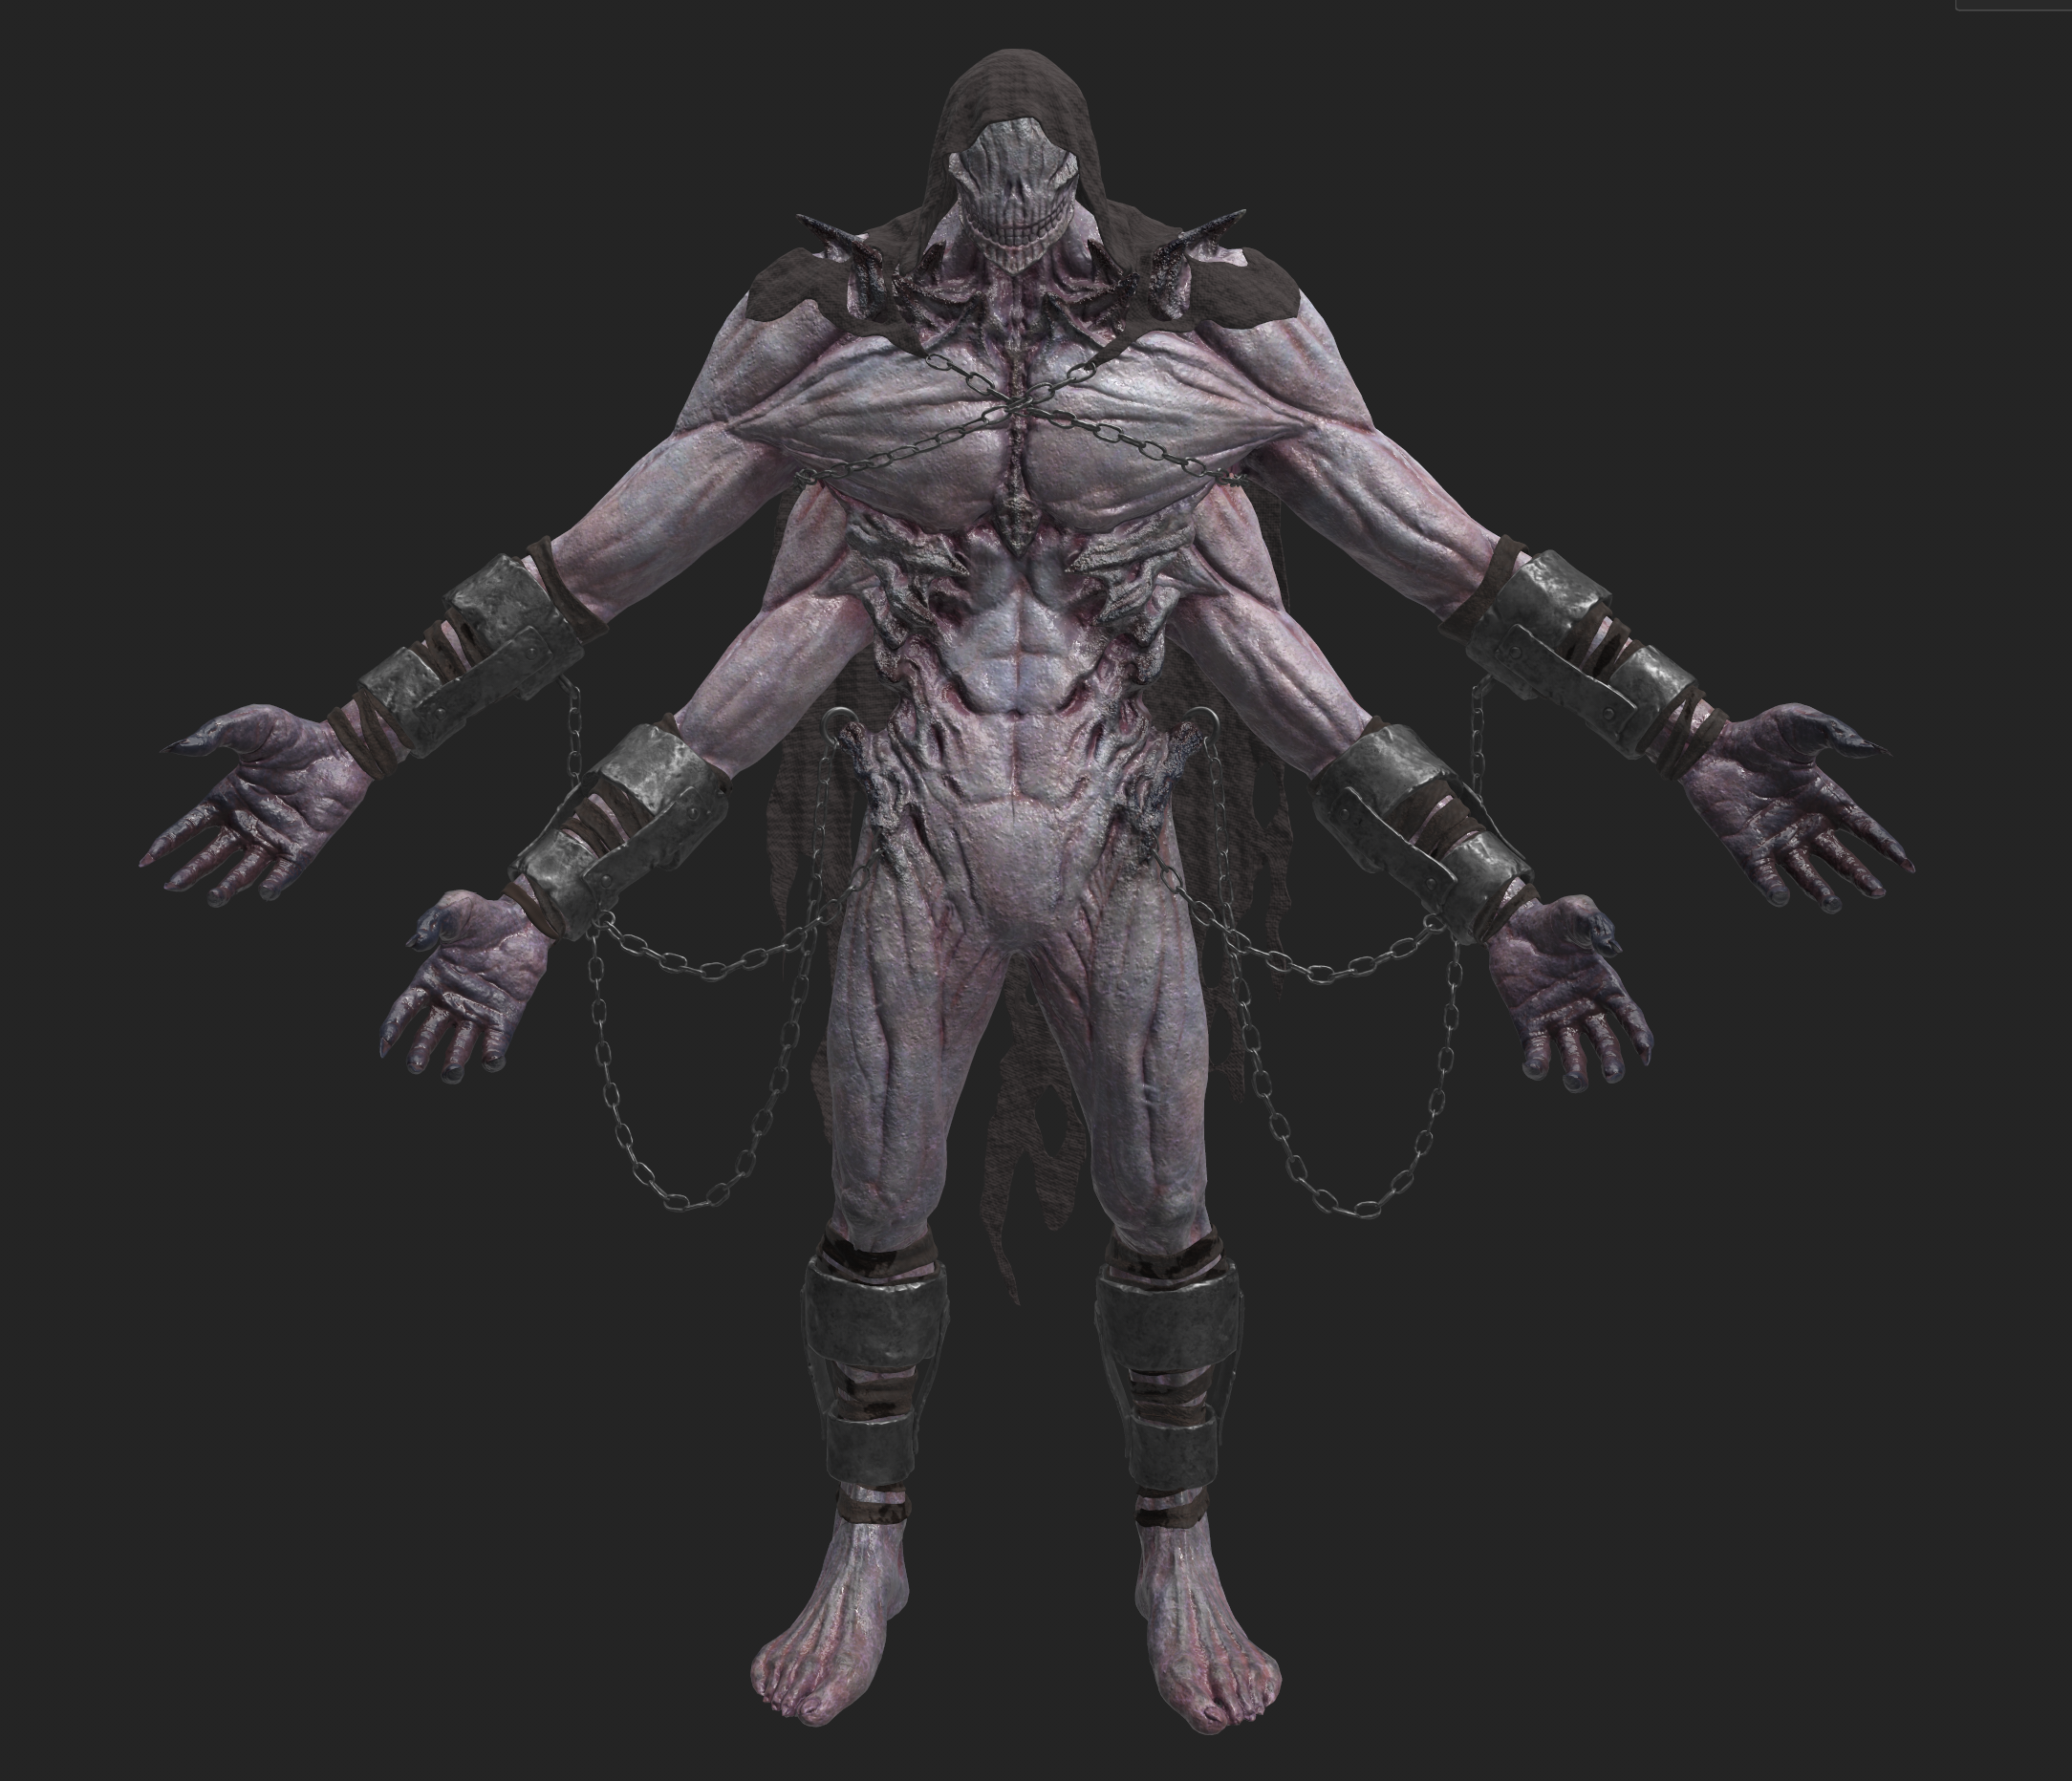
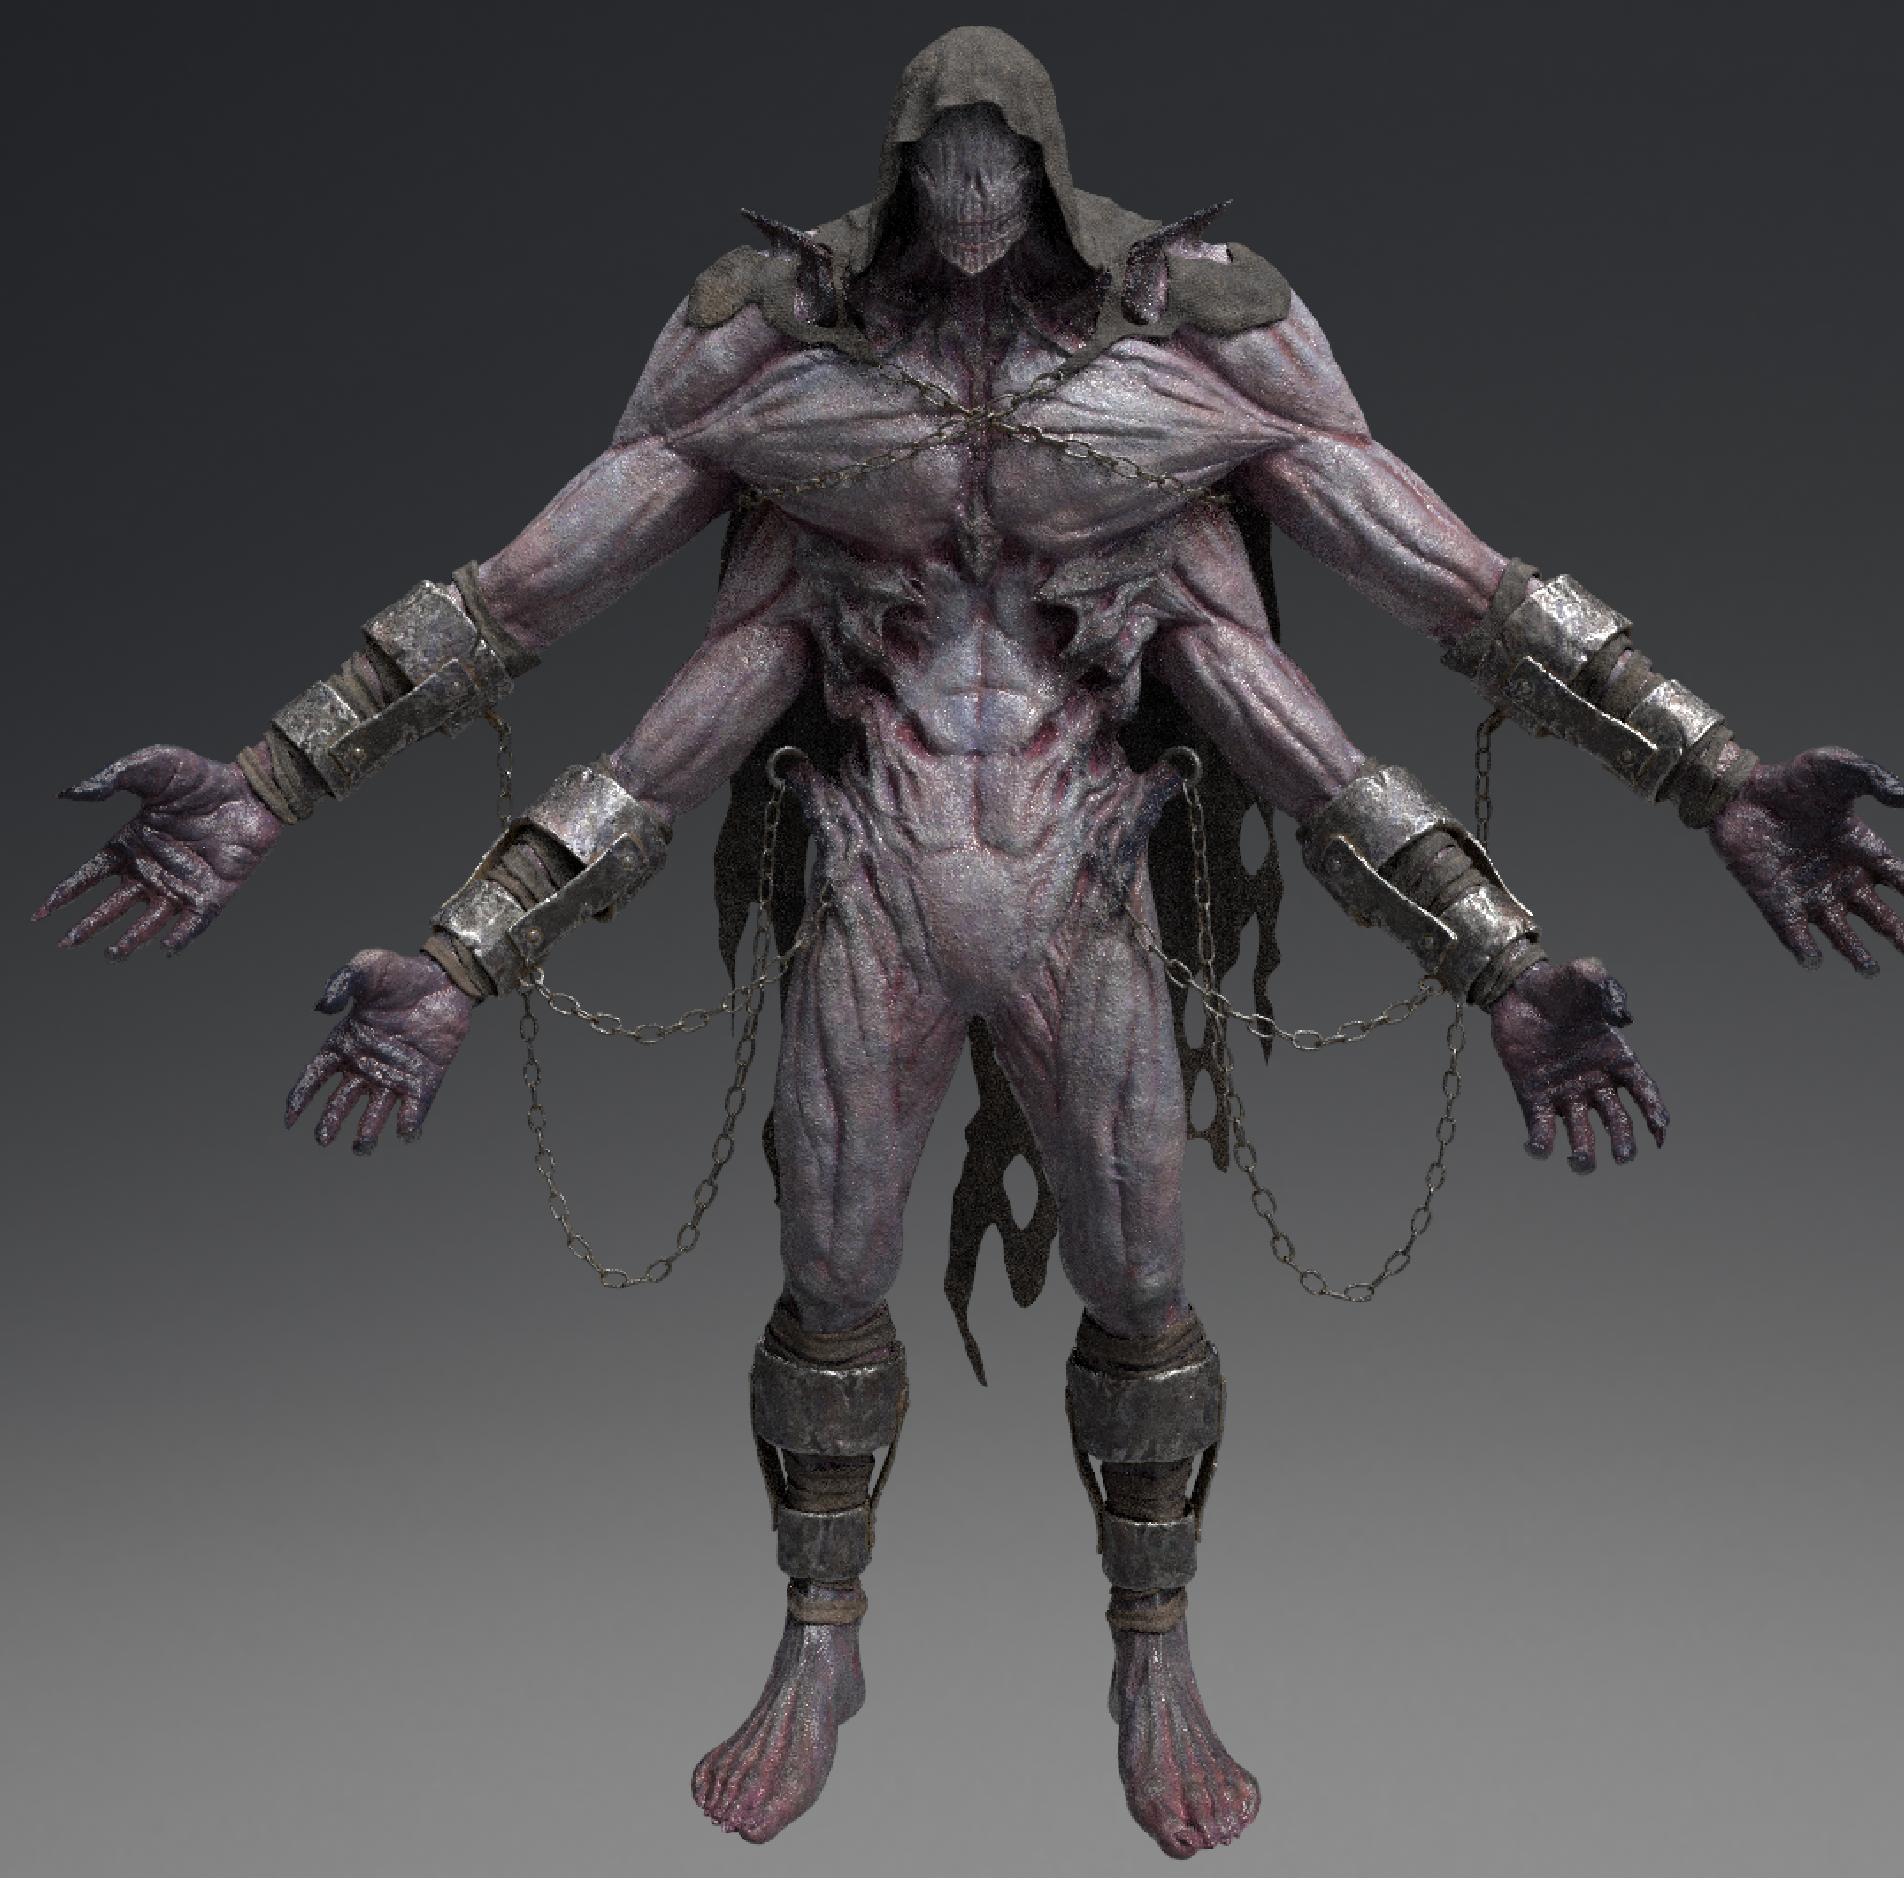
Rendering
Bringing the materials into Maya allowed me to further refine the look and align it with the character’s intended mood. By adjusting roughness values and color correcting the base colors, I was able to achieve a cooler, more moist and atmospheric tone that enhanced the character’s overall presence.